We’ve been asked many times by people interested in brewing if they could come and watch us during a brew day. Ok, actually no one has ever asked but in case anyone does this is the response.
Watching a brewer during a brew day isn’t that informative. There are stages before and stages after which are just as important. The brew day itself is the mechanics of assembling the components which were specified by the design and will lead to the yeast making a beer with other help and components.
The stages are listed below:
Design
Sometimes the design phase is simply “repeat what we did last time” for a particular beer. There are several beers Pen likes which we’ve done many times before and they’re easy to design. The only real adjustment is to review the overall efficiency of the previous brews and set the next one to be appropriate1.
However, if we’re doing a new beer, an experiment, then we start from scratch2. Mike wrote some software many years ago which aids the design process so we use that for all our brews. It’s sort of set up like a work flow.
- Pick a style and the volume to be brewed (this sets some parameters to ABV, bitterness and colour and the volume will determine how much malt, water, hops etc. are needed).
- Water chemisty is optional but can make a real difference. This works out what chemicals are needed for a chosen water profile taking into account the profile of the local water.
- Pick the yeast and any parameters around yeast starters. The attenuation from a yeast is important in determining the original and final gravities needed for a particular ABV.
- Malts. Any number of malts are chosen and entered with a particular mass or percentage (these can be mixed) based on the recipe. Sometimes I’ll substitute malts here if I know I can’t get them. Adjuncts are included here too. If a field is left blank then it’ll calculate how much is needed to hit the required Gravity Units (sugar content).
- Rests. The mashing phase will have a number (normally just one) of steps and here the quantities of water are calculated needed to hit the temperature of each step. Temperatures of the grain, mash tun and ambient surroundings are needed to calculate an accurate strike temp and volume at each stage.
- Boil. Length of boil and power of the kettle elements are important. Here is the list of hops needed to add the appropriate bitterness.
- Splits can be handled post-boil with different yeasts, hops, fermentation profiles and additions.
- Dry hops are added after the boil.
- Fermentation is a list of steps
- Misc contains any additions at any point (like Campden tablets, Clarity, orange rind – anything). Also various things like sugar for priming, CO2 for carbonation, post-brew calculations for the actual efficiency and ABV based on observations during the brew day. And label generation.
The benefits of using the software are legion. One key aspect is being able to change the volume at will without having to change the various quantities. If using percentages, the malts just scale accordingly. The hops (bittering and dry), once entered for a particular brew size, scale too.
Many of the calculations are automatic e.g. Volume of water in HLT, amount of wort to be collected, gravities expected, calorific value of the beer. A lot is worked out backwards, starting with the volume required, say, 19 L and figuring out the strike volume from how much is lost during the boil, how much is absorbed by the grist etc. Doing all this by hand would be painful.
Some stuff still needs to be done a bit iteratively but this is where the design is tweaked. Most of work doing moving the recipe to the design is figuring out which malts are which and which hops can be substituted. Carathis and Carathat are brand names and each manufacturer have different names for the same things and, sometimes, the same name for different things. Some hops are actually identical but with different names. Some are very hard to obtain outside their home countries.
So once there is a design we can print it off and use it to on the brew days to ensure we’re doing things right.
We used to do just one brew at time and then realised that if we brewed twice in a weekend the we’d only need to drag kit out of the cellar and wash it once while befitting from two brews. Much less work needed.
Then we realised that by planning for four brew days we could save money on Malt Miller delivery costs by having more per order. Given that most brews had some overlap with base malts it really helped.
Preparation
Planning
There are a few stages to this. Mike also wrote another couple of pieces of software. One of which is a stock database listing all the yeasts, malts, hops and other consumables. The stock database is designed around the idea that every bag has a unique code written on it.
The other is a work flow where the stock database is used to assign items to the design. If the item isn’t in stock then it’ll be flagged as needed to be purchased.
The output is a list of items that need purchasing3 and a list of items that need collecting from our stock. The collection list also includes notes about which bags will be emptied and how much should be left.
Before these database existed spreadsheets would be required to calculate the ingredients needed for four brews and mistakes were made leading to panicked trips out, incorrect purchases etc. It was messy, time consuming and inaccurate. The database reduced the work from days to minutes.
Post-brew the actual amount of things used are entered into the system so that the stock is updated and kept as accurate as possible.
Set-up
Three/four days before the brew day any starters are prepared. The software documentation gives the amount of dried malt extract to use. Water is boiled and cooled then a conical flask (2L if the starter is 1.5L) is filled with water and the right amount of malt extract at about 25C. The yeast is pitched, a magnet added and the flask is placed on a stirplate. Usually 24-48 hours is enough for the yeast to get going and ferment well.
Then the flash is placed in the fridge for 24-36 hours to settle out. Some yeasts settle quickly, others slowly.
Two days before the brew day the physical work starts:
- Get the kit out of the cellar into the dining room.
- Clear the utility room where the brewing is going to happen.
On the day before the brew days the cleaning starts:
- Pen starts with one of the large vessels and fills it with hot water and VWP.
- Once sanitised (about 20-30 mins) the liquid is pumped into another vessel using the chugger pump and some of the hoses. This cleans the pump and hoses.
- Repeat 2) with all the vessels (Kettle, Mash Tun, Fermentors).
- The HLT never contains anything other than water so is generally just Starsaned.
The above is done throughout the day at Pen’s convenience. Everything that touches the wort is soaked – spoons, filters and three 12L plastic buckets.
The buckets are thoroughly dried and used to store the grain before the brew day.
We take the collection list and collect all the bags as listed. The malts for the two brews that weekend are weighed into the bucket, one brew at a time. Then the hops are weighed into little plastic pots we get mushy peas in from the chip shop. Everything is labelled up. The buckets have the brew name on the side and the pots have the hop name, quantity and timing on them. The pots are put in the appropriate bucket.
Then the various chemicals are weighed out and put into the malts too. The buckets are then sealed and left for the next day.
The HLT is set up in the utility room. It’s sat on top of an old Buffalo induction hob, which in turn, is sat on four furniture supports. The height is needed to provide suitable pressure when transfering the strike water to the mash tun later. It contains a copper filter which also acts as a syphon to help empty the HLT. An Inkbird has a thermometer in the thermowell and is used to control the temperature.
The HLT is filled with the needed volume of water and some Sodium Metabisulphite is added (Campden tablet) and left overnight to clear out the chlorine and chlorides.
The kettle is set up on top of our working Buffalo with the hop spider and it’s own copper filter/syphon. There’s an analogue thermomter built in. No temperature control is needed other than to get to 100C. If a hop stand is needed the thermometer is useful for knowing when it’s at 80C.
That’s the set up done.
Brew Day
First job of the day is to set the HLT heating up to temperature. Do do this accurately temperature readings are taken with an Infrared thermometer of the malt, the mash tun and the ambient area. These are fed back into the beer database which corrects the strike temperature. The Inkbird is then set to the right strike temperature and left to warm up. A typical brew is about 34L and takes about 80 minutes to warm up.
That hour can be used for, well, more fun activities on a Saturday morning.
Once the HLT is up to temperature the mash tun has the malt tipped in and the strike water added from the HLT. The HLT has a sightglass which makes it easy to monitor the water quality. A hose from the HLT to the mash tun and the mash tun fills.
The grist is stirred and left so that the temperature can stabilise. After 5 minutes the grist is stirred thoroughly and the temperature is taken and recorded.
The mash tun is sealed and left for, usually, and hour. If more steps are needed then the HLT is set to warm up to the appropriate temperature (85-90C). At the end of each stage the grist is stirred and temperature recorded. After the right period/periods more water is added to increase the temperature to the next level.
At the end of the mashing the grist is vorlaufed then the pump is set up to transfer the wort to the kettle, which is set above the mash tun. The mash tun isn’t drained but enough wort is removed to drop the liquid to the top of the grist. Gravity (with a refractometer) and pH reading are taken at the start of the transfer, at the end of the final transfer and when all the wort is in the kettle.
If sparging is required then water is fed from the HLT through the mash tun lid. Normally the sparge water is about the same as the strike (by design) and there’s enough to do two sparges (5-10L each) with the wort being pumped to the kettle between each stage.
Once wort enters the kettle the Buffalo is turned on and starts to heat the wort. The aim is to hit the boiling point just as the last of the wort leaves the mash tun. The wort in the kettle will cool with each post-sparge transfer and take longer to heat up as the wort volume increases. Once there’s enough wort to cover the element that’s also turned on. The elements can NEVER be turned on unless submerged. Once at 100C the Buffalo is usually turned down. The default boil power is 5400W. The element is about 2400W and the Buffalo is set to run at 2000W.
After the wort reaches 100C normally the first (bittering) hop addition is made. The hops are pitched into the hop spider. In fact ALL additions are made through the hop spider just ensure that as little rubbish as possible finds its way into the plate chiller (which is difficult to clean).
Oven timers are used for all the timings (mashing, boiling, hop additions etc.).
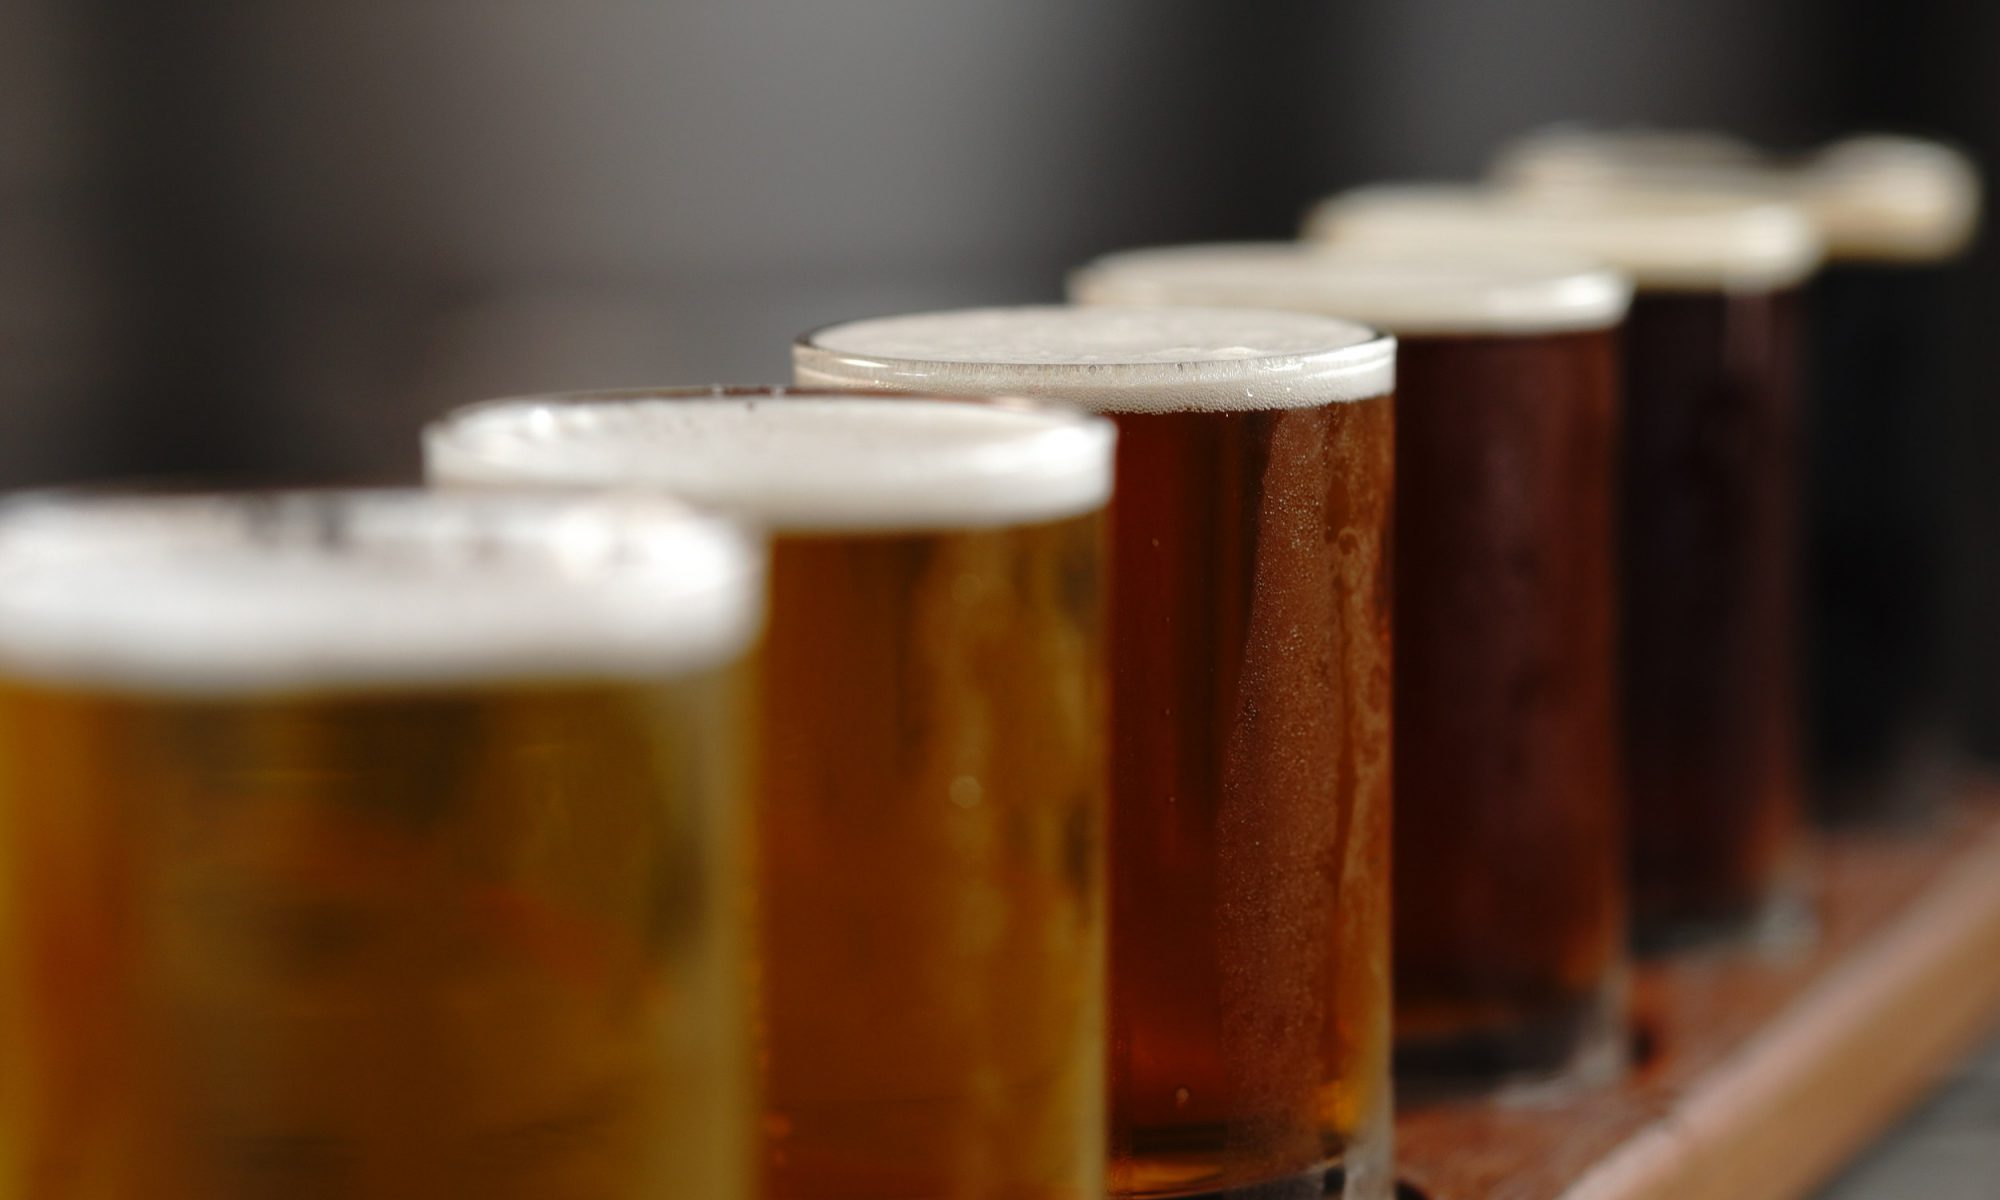
At 10 minutes to go, additions such as yeast nutrient and Protofloc are added. At zero the element and Buffalo are turned off. At this point either the wort is allowed to cool to 80C for a hop stand or is gravity fed through the plate chiller into the fermentor of choice. The final volume of the wort is noted (with temperature).
The plate chiller works by having cold water flow from the tap through it in one direction an the hot wort in the other direction. By careful manipulation of the wort flow rate from the kettle and the flow from the tap the final temperature of the wort can be managed to within a degree or two.
On the first brew day the hot water from the plate chiller is sent to the HLT. Commercial breweries save a lot of energy by doing this. We save a little because the water has generally mostly cooled by the following day but every little helps.
Fermentation
Once the wort is in the fermenter then a bit more work is required.
A small aquarium pump with a HEPA filter and a scintillated stone is used to aerate the wort BEFORE the yeast goes in. Infecting the stone with yeast is a very bad idea. Clarity is added to remove the gluten. Take a gravity (and pH) reading with a hydrometer and that’s the Original Gravity. After 15 minutes of aeration the yeast is pitched. If possible, note how much wort is in the fermenter.
If using a starter the excess beer is poured into an empty Coke bottle and can be an added bonus drink for Pen. Enough beer is left in the flask to swirl around, loosen the yeast and make it pourable.
Stir, add a Spindel, seal the fermentor and leave.
If dry hops are required or any other additions (herbs, spices etc.) then they go in a hop bag and floated in the wort/beer.
Watch the Spindel data until the fermentation has stopped.
Packaging
Post-fermentation then the beer is transfered to either kegs or bottles.
Kegs are easier. The brew is 19L or less then it’s very easy. From the metal fermentor, attach the appropriate long hose and just open the tap into the keg. Put the lid on the keg, attached it to the carbonation hose and leave for a week. Plastic fermenters need the auto-syphon. If there’s more than 19L then a jug is used to take the excess in advance. Once the fermentor is empty, top up the keg as much as possible. Then seal and carbonate.
Excess beer is bottled with a carbonation drop.
If bottling then it’s easiest if coming from a plastic fermenter. With the autosyphon transfer the beer to the metal fermenter, add the priming sugar mixed with boiling water and mix in thoroughly. Don’t add the sugar water first as much will get stuck in the bottom tube.
Use the bottling stick attached to the fermenter to bottle. Cap and store. Little labels with the beer ID are placed on the lids for easy identification on shelves.
Cleaning
Brewing is about 50% cleaning. Before, during and after a brew day stuff is cleaned. The initial cleaning is mentioned above but various things are cleaned as we go. The plate chiller is rinsed through IMMEDIATELY after being used and that isn’t enough to properly clean it. Every so often it need BrewClean, BrewZyme and Caustic through it.
The kettle and mash tun are cleaned between brew days and then again at the end of the final brew day. All the kit is left in the dining room for a couple of days to properly dry before being returned to the cellar to minimise the mould growth.
Conclusion
So as you can see a ‘Brew Day Experience’ would need a day for the design, an hour or two for the yeast prep, a day for the kit prep, a day for the brewing, some time for watching the fermentation and any temperature or hop adjustments and a couple of hours for the packaging; all spread over about three weeks. Independently none of these steps teaches you how to brew a beer.
- The efficiency is a measure of how much sugar (starting as starch in the grain) makes its way into the fermenter as compared to how much could make it there. At home brew levels it only matters because it’ll determine whether you achieve the right ABV. Brewing the same beer several times means you’ll eventually know what efficiency to expect and thus you can use that value in the design to ensure the right quantity of grains to use. ↩︎
- which means one of a few options: 1) use a recipe from another Home Brew Club members, 2) google for a recipe of the style Pen’s after, 3) contact breweries which brew something that Pen likes and ask them nicely for the recipe (this works better than you might expect). ↩︎
- The purchase list is used to place an order (normally with The Malt Miller) a couple of weeks before the first brew weekend. Bought ingredients are labelled up and added to the Stock DB. Once everything needed is entered then the Collection list can be generated. ↩︎