History
As with most brewers we started by bottling beer, first with a two-handed capper and then an overhead press. We got the process perfected and filled our cellar with beer.
However, it’s a long, boring process and we have had a fair few issues with over-carbonation, generally due to continuing fermentation. Just recently a beer that appeared to have stabilised at 1.019 dropped to 1.012 over the space of a few months. It only takes about 2 points to full carbonate a beer so 7 points was… messy.
That beer is now is kegs where it can continue to ferment if it so wishes and there’s no risk to our ceiling paintwork.
Most people tend towards using Cornelius (Corny) Kegs but it takes a fair bit of time, experimentation and expense. Bottles are easy: drink beer, clean bottle, buy caps and capper and you’re off. Kegging requires a lot more components and understanding.
Basics of Kegging
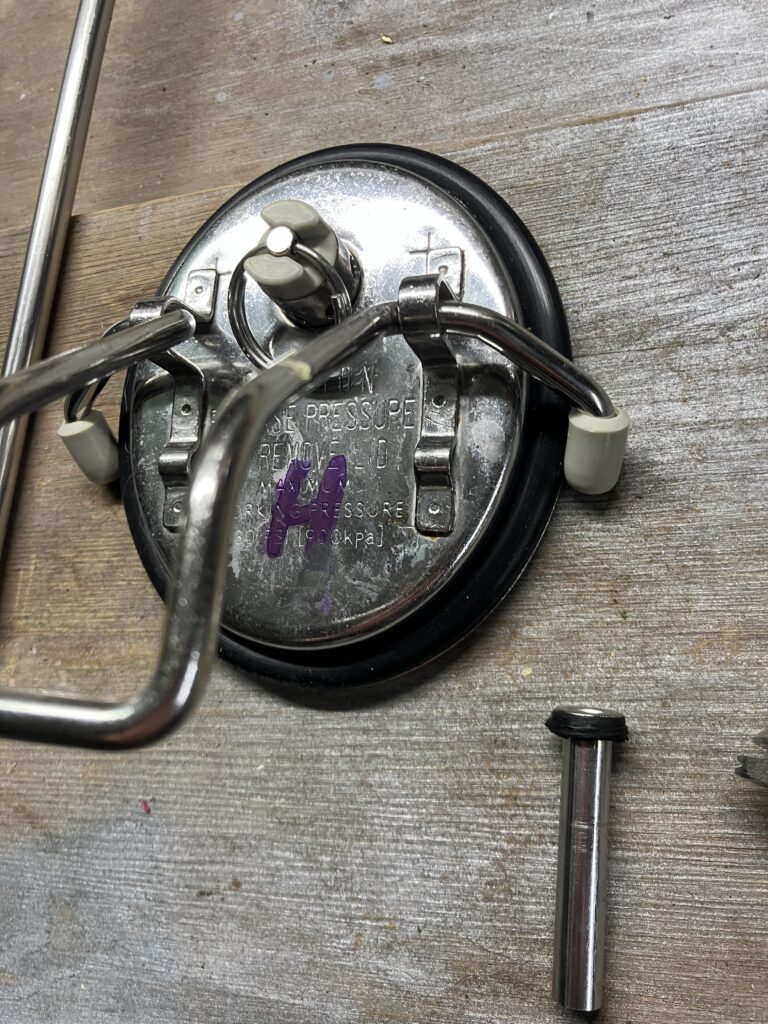
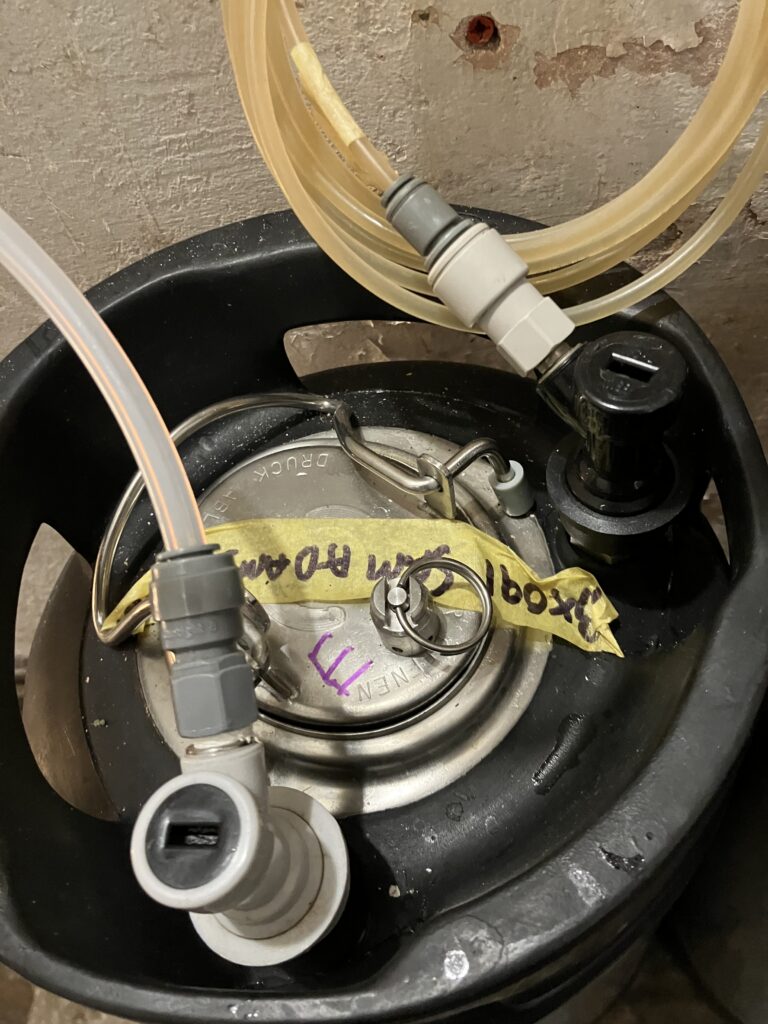
So to cover the basics first. A corny keg is a cylindrical pressure vessel orginally for post-mix soft drinks from Coke and Pepsi. They come in a couple of sizes: a few 10L but by far the most popular, 19L (or 5 US gallons). They have three holes: one for gas in, one for product out and a hatch for cleaning. The gas in has a short dip tube which should always be above the liquid level (you don’t want blow-back). The product out has a long dip tube that reaches the bottom of the keg and sits just above where any trub is likely to be. Although not designed to dispense beer, they might as well have been. The hatch has a lid that can be sealed and a pressure release valve that prevents over-pressure and allows for venting so it can be opened, emptied and cleaned.
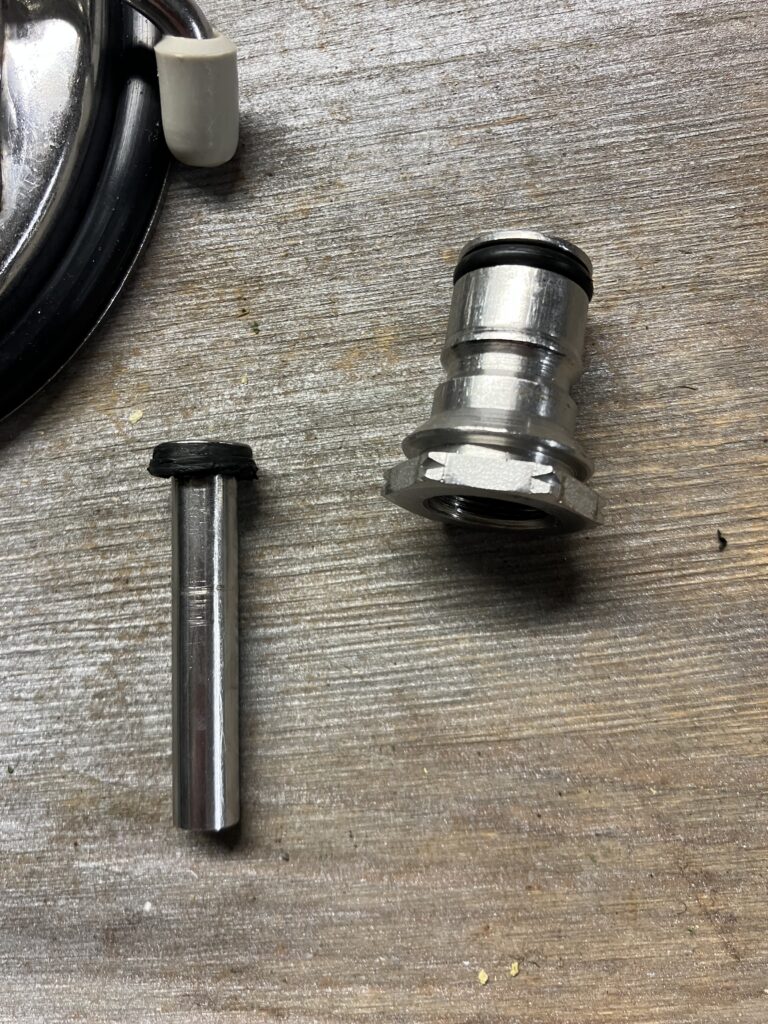
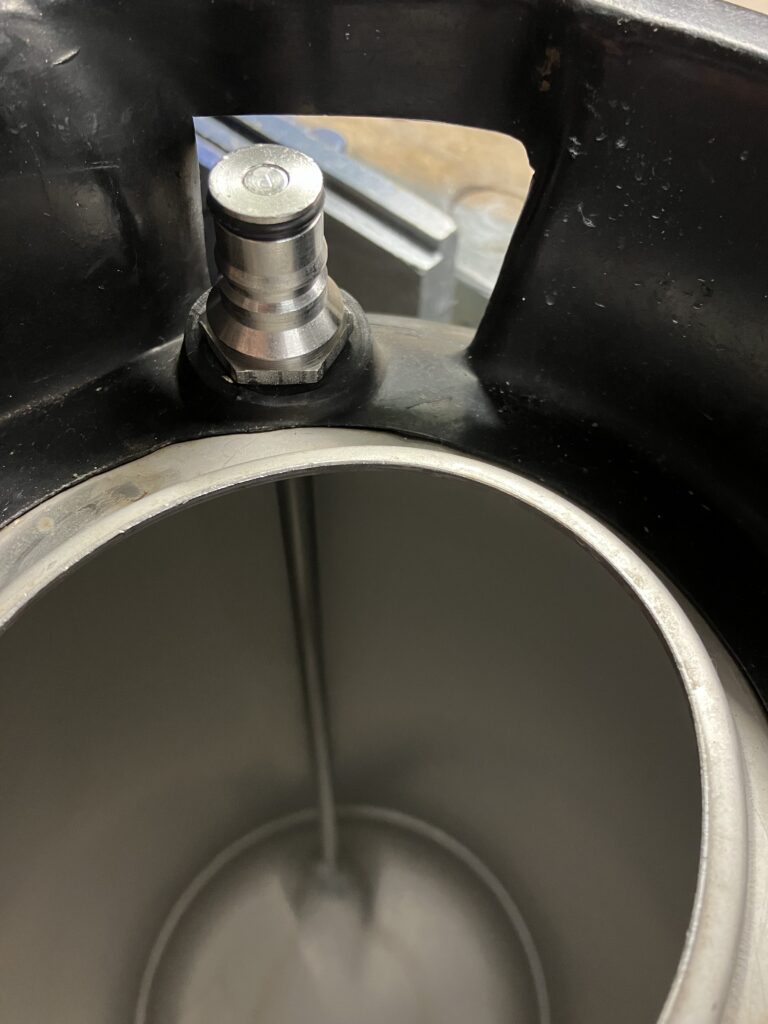
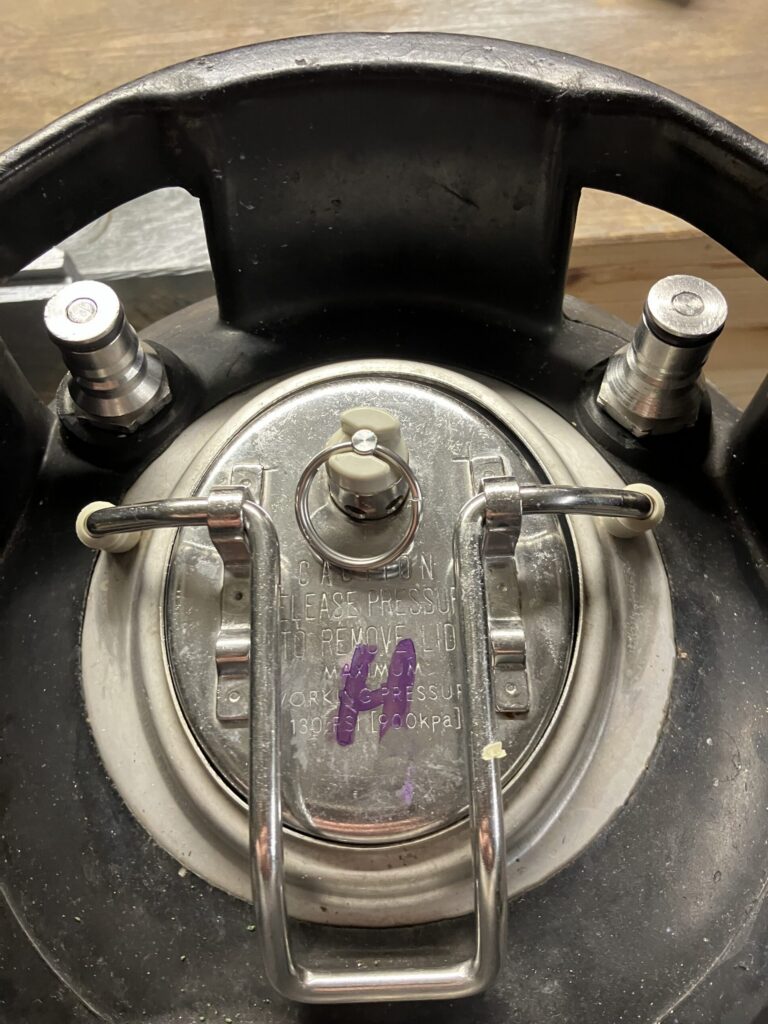
The gas in and product out holes have posts with valves to which attach black and grey ‘disconnects’. Black for product, grey for gas. The posts and disconnects are different designs so black always has to go on the product post and grey always on the gas. The two posts aren’t easy to distinguish but the gas post has notches in its base.

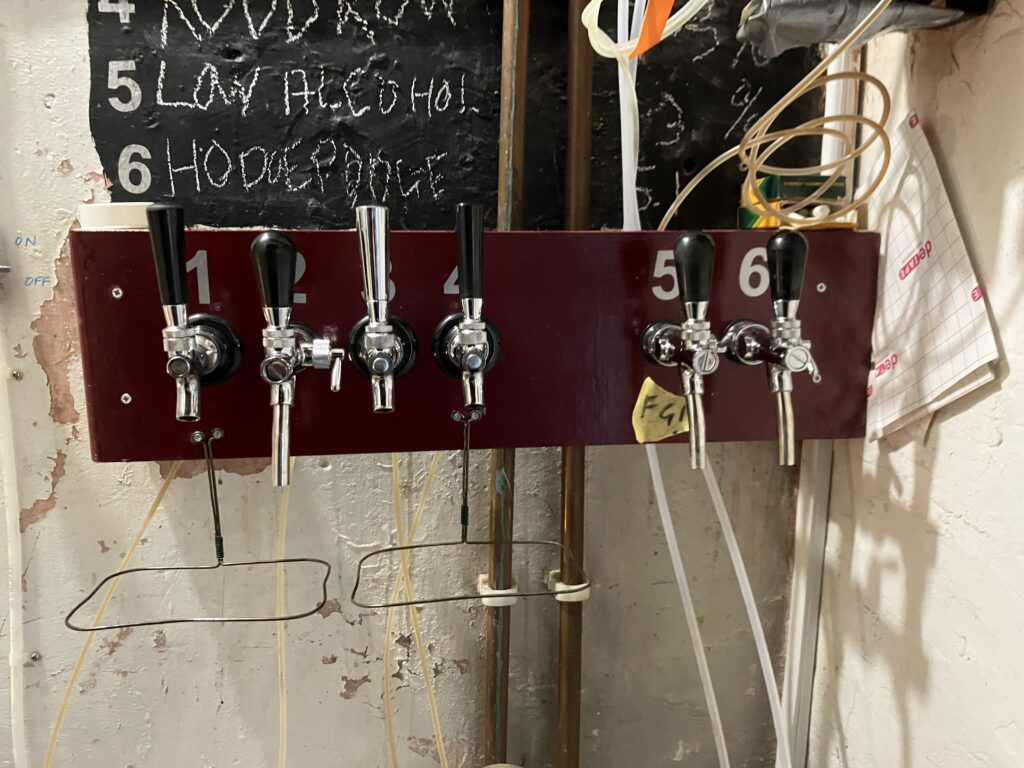
The product is served out though the dip tube, post and disconnect into a tube that leads to a tap. The tap could be a ‘party tap’ but these are pretty nasty and not recommended as they just tend to foam everywhere. The length and bore of the hose are important as we’ll see.

Some physics and chemistry. When a liquid is under pressure from a gas some of the gas will dissolve into the liquid over time. The chemistry is complicated but essentially for a given gas, temperature and pressure a certain amount of gas will be dissolved into the liquid. Aside: CO2 is very dissolveable compared to, say, Nitrogen. About 100 times more so. It sets up a balance in water/beer between CO2, HCO and CO compounts so the taste is actually affected. The time taken for the whole process to reach a static balance depends a lot on temperature (warmer = faster) as does the amount of CO2 dissolved (cooler = more). This is why it’s advised to chill beers before opening which have a propensity of gushing.
The amount of CO2 in a beer is measured as the ‘volume’ and is defined as:
1 volume of CO2 is defined as 1 liter of CO2 at 1 atmosphere of pressure dissolved in 1 liter of liquid
Most beers are between 1.0 and 4.5 ‘volumes’. 1.0 is barely carbonated. 4.5 would be a fizzy lager. Milds are between 1.5 and 2, Saisons 3. Some people prefer less, some more.
Priming Calculator: https://jadzia.perpetual.name/priming/index.html for sugar.
Carbonation
There are two (common) ways to carbonate a beer: sugar primed and forced. Sugar primed is where you add some sugar (table, brewers, etc) post-ferment and let the remaining yeast ferment the pure sugar producing a little bit of gas enough to create pressure (normally in the bottle) and thus dissolve CO2 into the beer. Sometimes known as bottle conditioning.
Force carbonated is the way that most beers are carbonated: put it the beer in a pressure vessel, pump in CO2 and leave it to dissolve into the beer. The higher the pressure, the quicker the dissolve. 10-30PSI is the normal range to use. Leave it too long at 30PSI and it’ll dissolve so much CO2 that even if you vent the container entirely the beer will gas off and the pressure will reach equilibrium above 20PSI.
Less than 10 PSI and it’ll take a long time but your beer will be more manageable. At the tap the pressue needs to be closer to 1PSI if you don’t want a glass full of foam.
If you want to use a corny keg at 10PSI to dispense beer at the tap at 1PSI then the pressure needs to drop between keg and tap. To achieve this you use friction. Tubing introduces friction between the beer and the tube walls, which effectively reduces the dynamic pressure slowing the flow. The narrow the tube, the greater the friction and the longer the tube, the greater the friction.
In practice 3/16″ tubing is used and it needs to be 1-3m long, depending on the starting pressure. In theory you could dispense a mild at 5PSI and a saison at 20PSI at the tap at 1PSI just by getting the length of tubing right. In practice we have everything at 10PSI and use the flow control on the tap to adjust the flow rate.
Why is it important to dispense at 1PSI? If the beer comes out at too high a pressure, too quickly, then it foams. Getting the beer to come out at a rate where you don’t get bored filling your glass but that it comes out as liquid rather than spume is an art. Pubs make it look easy but it isn’t, there’s a lot of science behind the art. Choosing taps with a flow control mechanism can really help though.
More simple physics. When you fill a corny keg with 19L of beer the level comes to about 8cm below the top, just below the gas dip tube. If you then pressurise the keg to 20PSI there will be an amount of gas in the head space. Over time some gets dissolved and, unless you’ve got a constant supply of gas, the pressure in the head space drops. If you then start dispensing beer the head space will increase and the pressure will drop again. When the pressure drops CO2 will come out of solution until equilibrium is regained. As more is dispensed the head space gets bigger and the beer loses more CO2. Eventually either the beer will run out of the pressure in the head space will drop too low to dispense any more beer. At that time the beer is likely to be flat.
Ideally there should be a constant supply of CO2 at the required dispense pressure, say 10PSI but that’s not always desirable. For one, tubing isn’t perfect it does ‘leak’ gas. All materials are permeable to gas to one extent or another so if you leave the gas on then over time it will be lost from the system. This is inconvenient in that it means more frequent refills of your chosen gas source. More concerning is that CO2 is a dangerous gas. For example, our cellar is where the cylinder lives, turned off. There is tubing up the stairs to the ‘bar’. If there was a serious leak in the various tubing then the cellar could fill with CO2 (it’s heavier than air). One deep breath of a high concentration CO2 atmosphere could instantly knock someone unconscious and thus, well, they die. So our cylinder stays turned off until a top-up of a corny keg is needed. This is less important in a well ventilated space.
If you choose to use a keg for dispense then the next choice is how to carbonate it. Force carbonation is recommended. You can use the priming method in a keg but it leaves a lot of trub, which can take a while to be cleared if it’s above the drop tube.
If you choose to force carbonate then you need to choose where the gas comes from. There are a few options:
- Bulbs. These are what used to go into soda syphons. They contain about 10-15g of CO2 and single use. They are connected to the keg via a regulator and a disconnect. One per keg. It can take several bulbs to fully dispense a keg and they’re not particularly cheap. They don’t suffer from loss of gas through tubing though, as they’re directly connected to the keg.
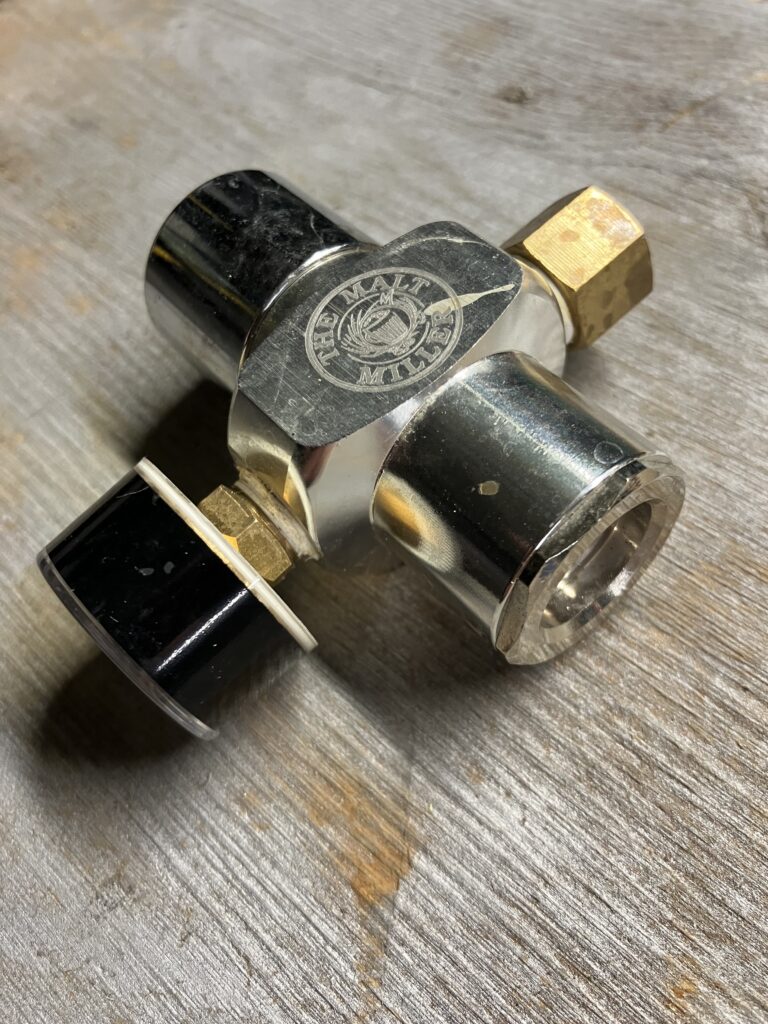
- Sodastream bottles. These are bigger versions of the bulbs and used in Soda Steams. They offer a few hundred grams of CO2 and could easily dispense a few kegs. However, they’re about £20. They are returnable but still not cheap. They can be connected to individual kegs or via a distribution system and a special valve that they screw into.
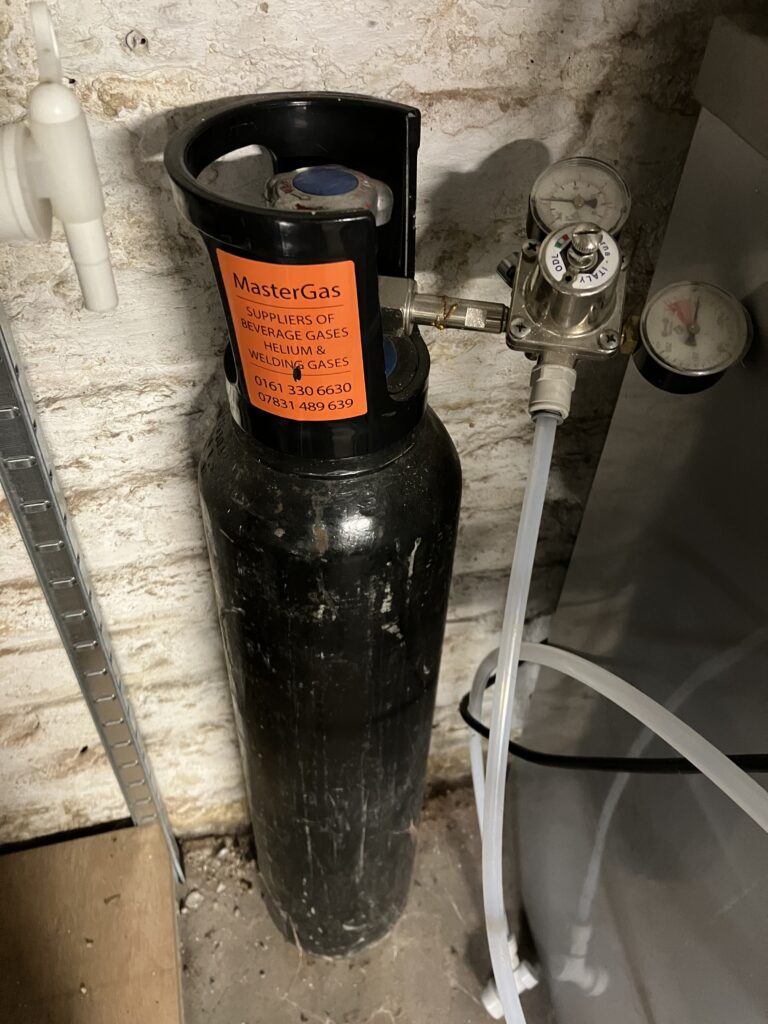
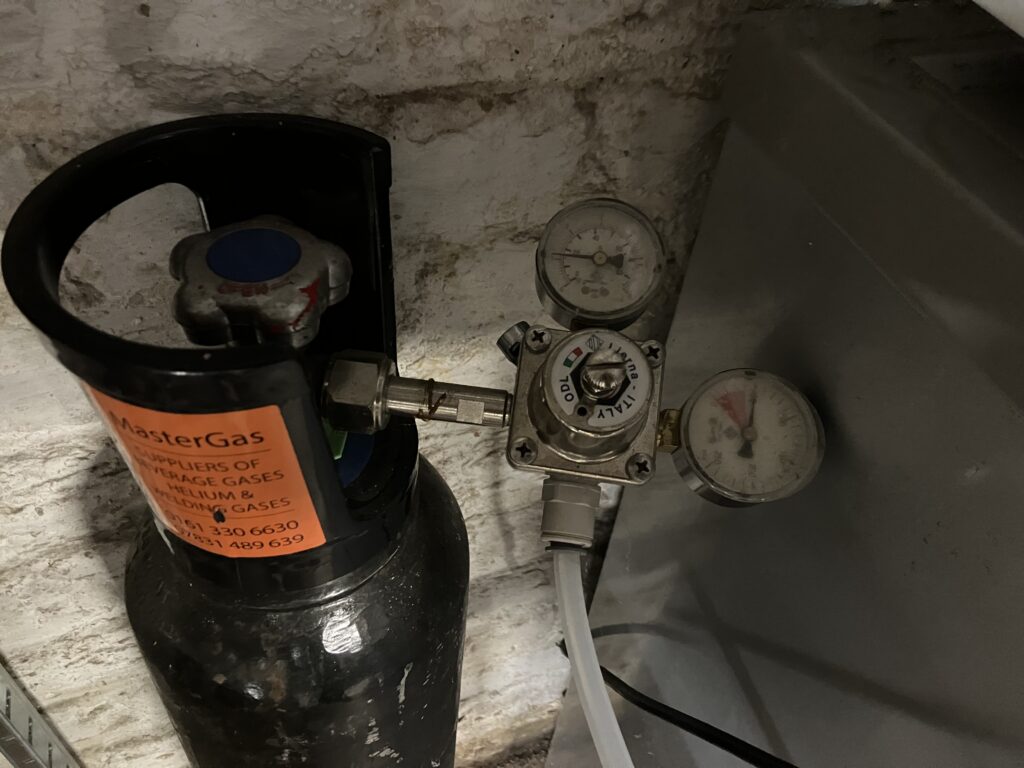
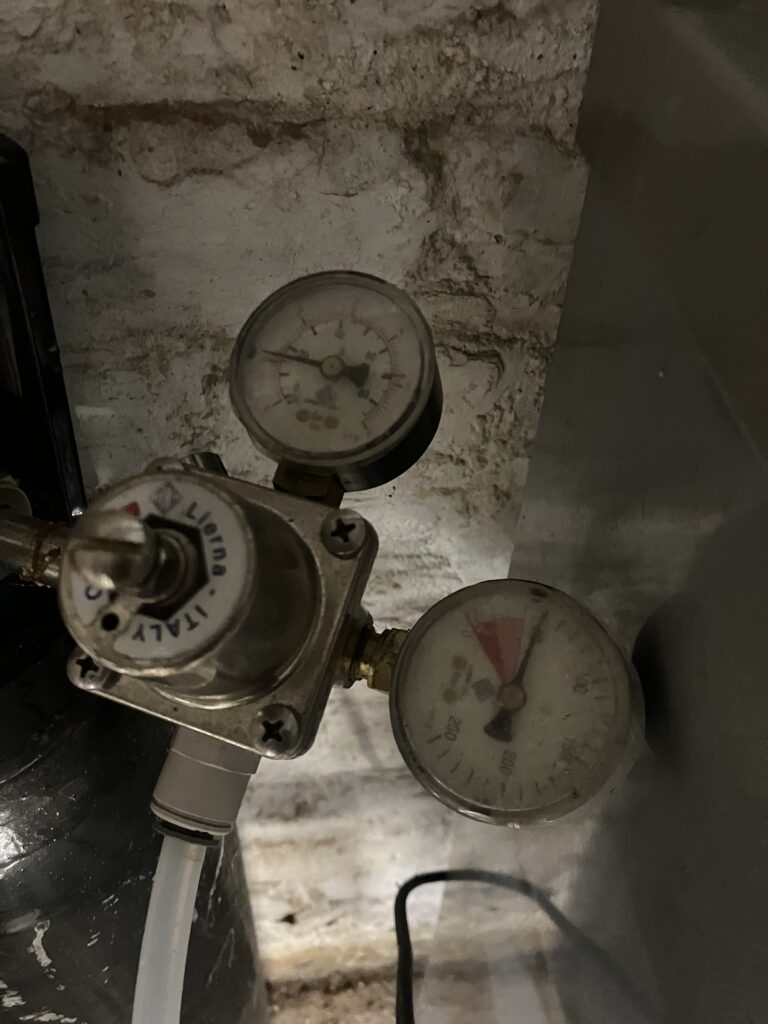
- A 6kg cylinder. These look like large diving cylinders and contain about 6kg of CO2 at 50PSI. These last years and dispense many, many kegs. The general approach is that you ‘buy’ a full cylinder for about £30 and then take it back when it needs recharging, which costs about £15-20. It’s by far the most cost effective way of force carbonation and dispense. It requires a (primary) regulator which allows the output pressure to be varied independently of the cylinder pressure. However, there are risks, as mentioned above, as well as them being heavy (the cylinder is lot more than 6kg in weight). A upright cylinder ought to be secured so that it can’t fall over. Knocking off the valve on one of those would be… costly in more ways than one.
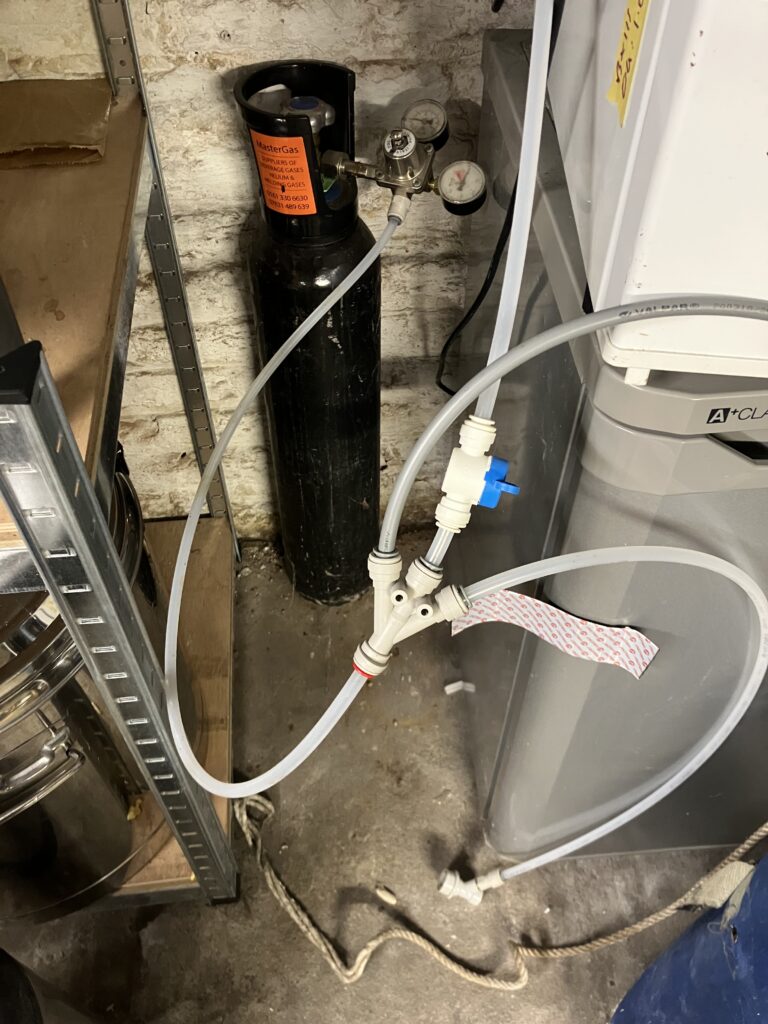
Our Setup

- A 6kg CO2 cylinder
- A primary regulator for the cylinder
- 3/8″ Tubing
- A three way JG splitter – one to the dispense upstairs, two for local keg pressurisation via disconnects.
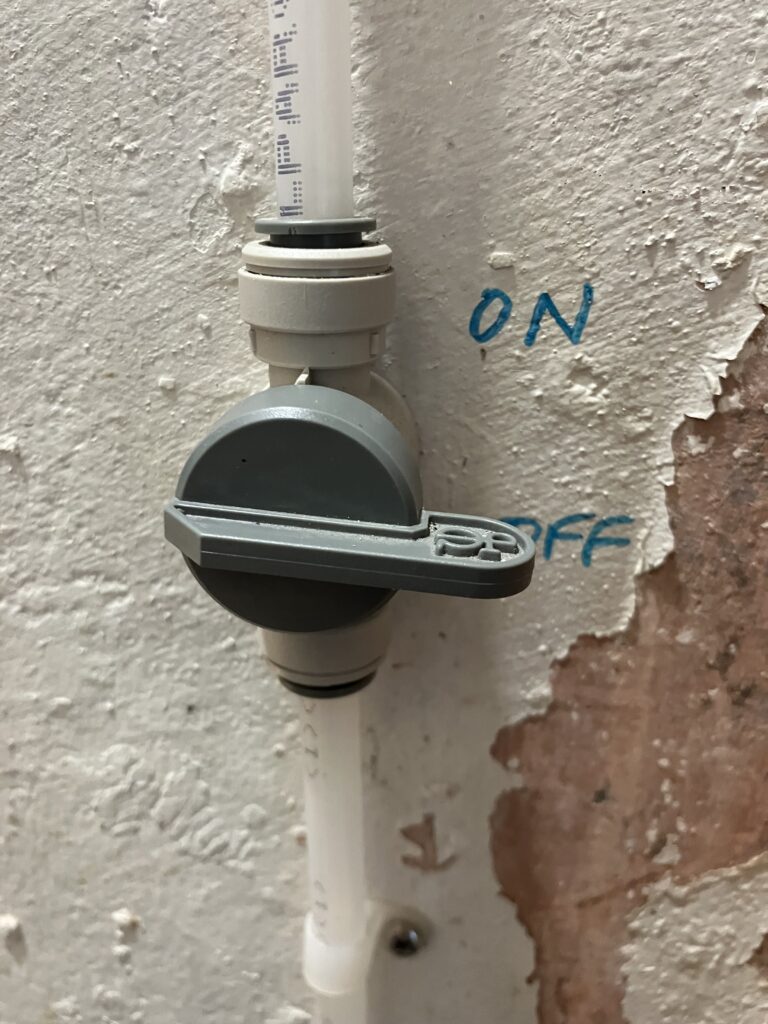
- An JG isolation value leading to
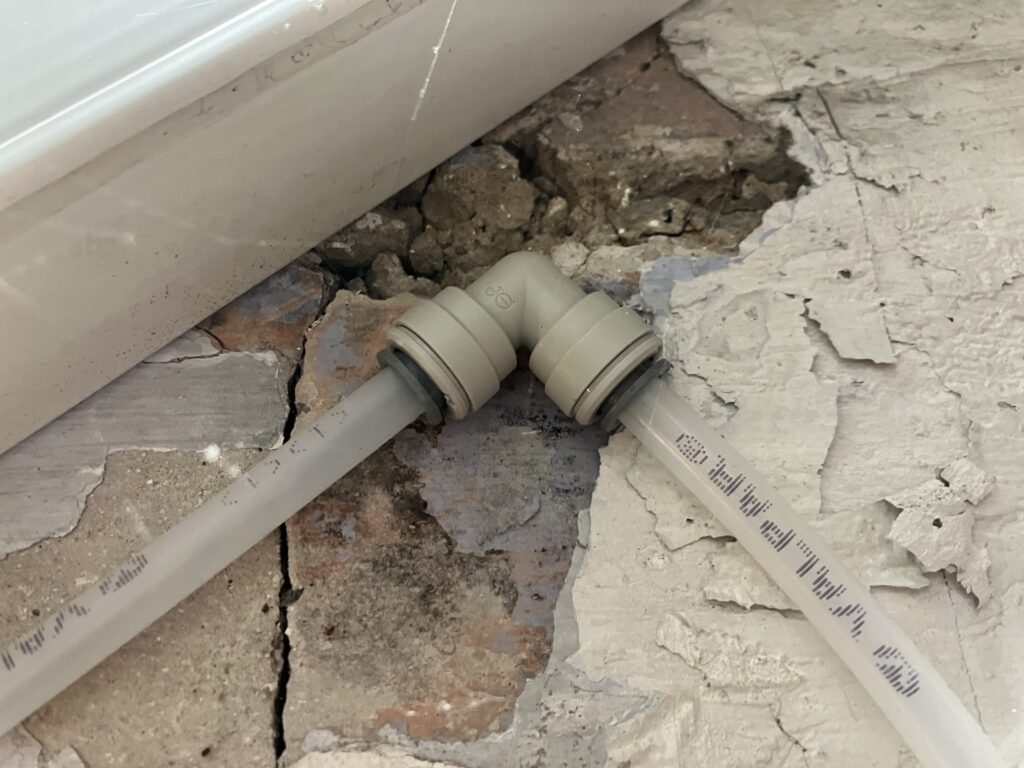
- 3/8″ tubing and right angle connectors, leading to
- Another JG isolation valve, leading to
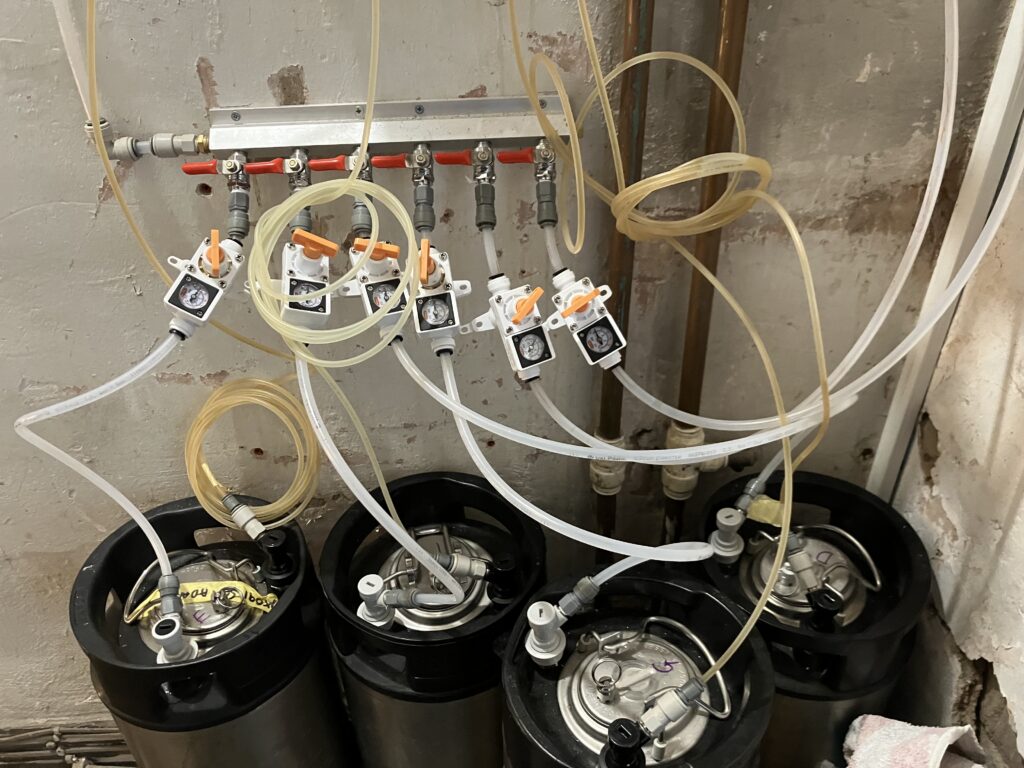
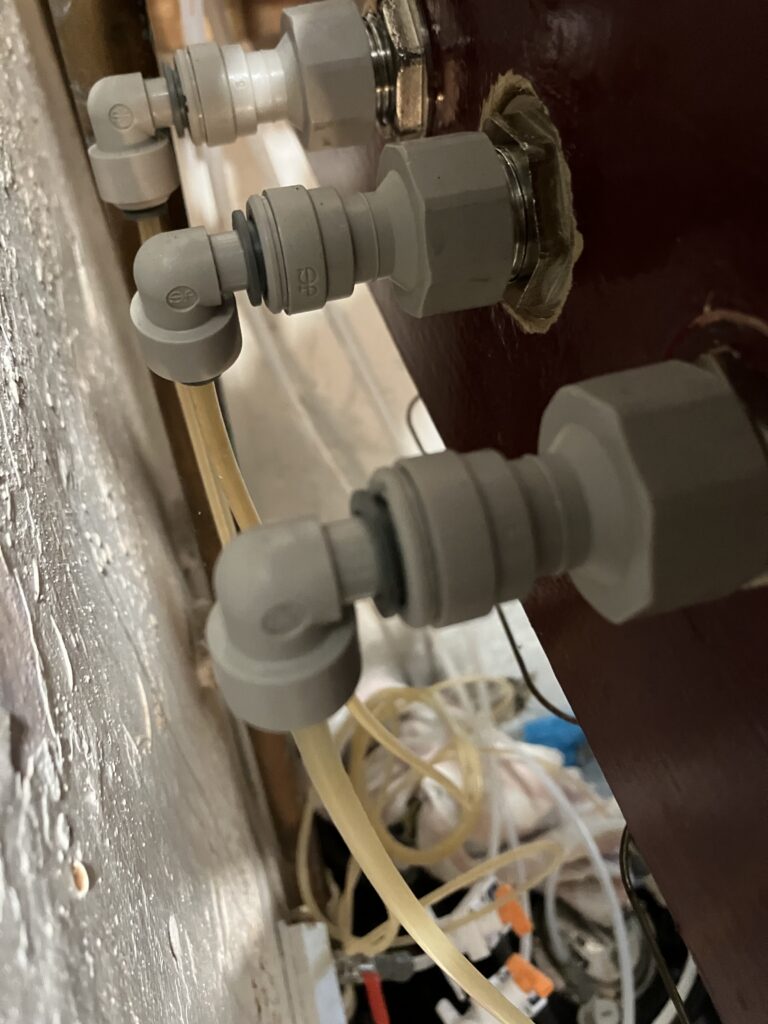
- A six-way wall mounted set of isolation valves on a manifold
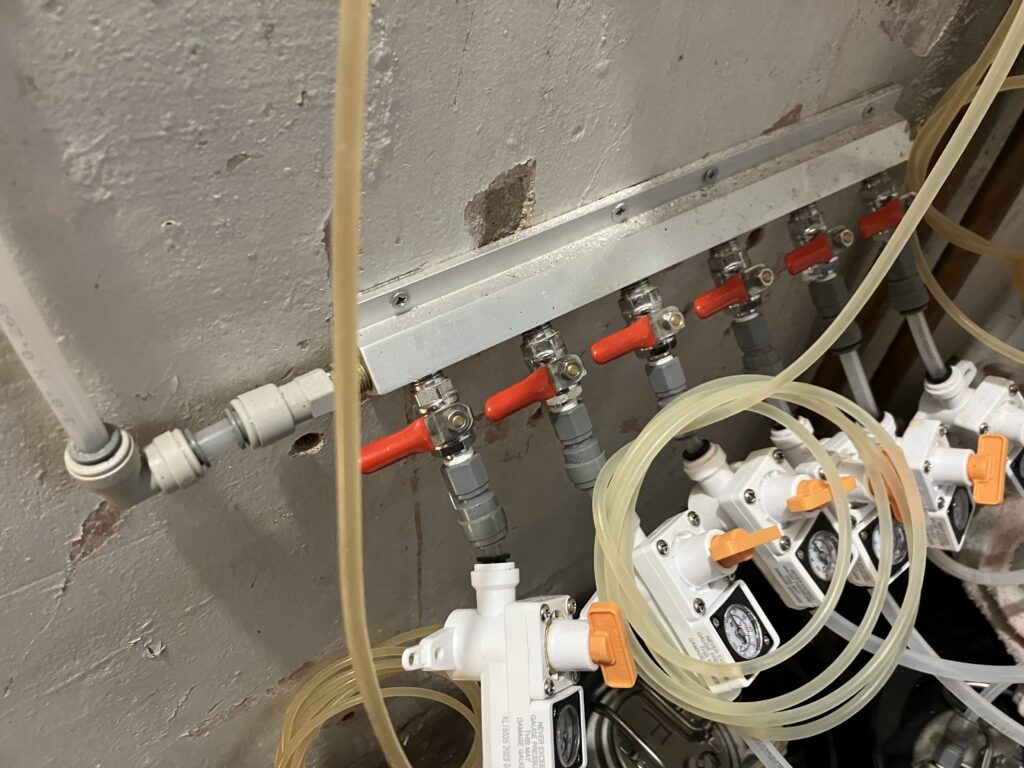
From here each keg is connected to the isolation valves:
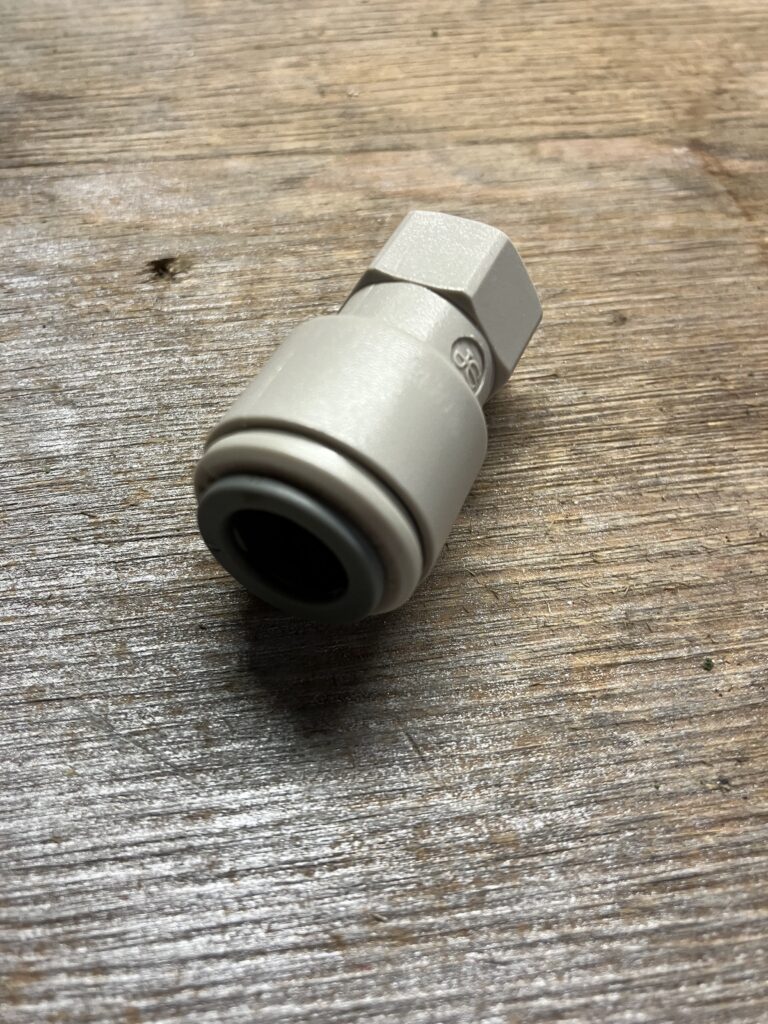
- Screw on connector, JG 5/16″ to 1/4″ FFL
- 5/16″ tubing
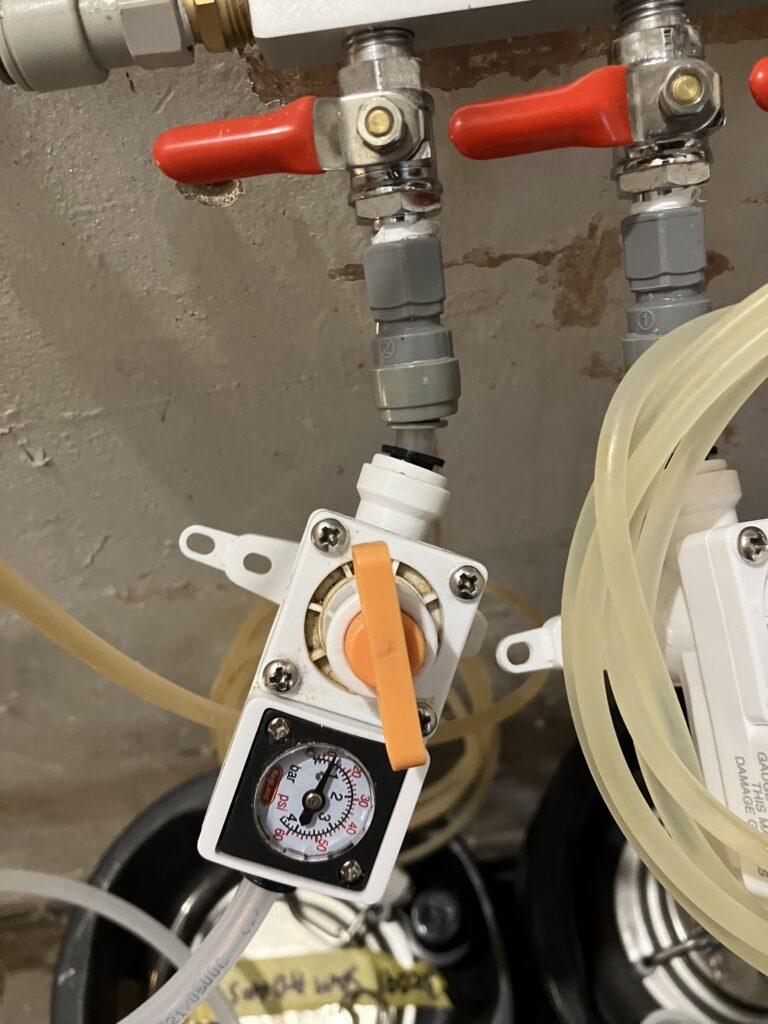
- Secondary regulator
- 5/16″ tubing
- Screw on connector JG 5/16″ to 1/4″ FFL to
- Grey disconnect
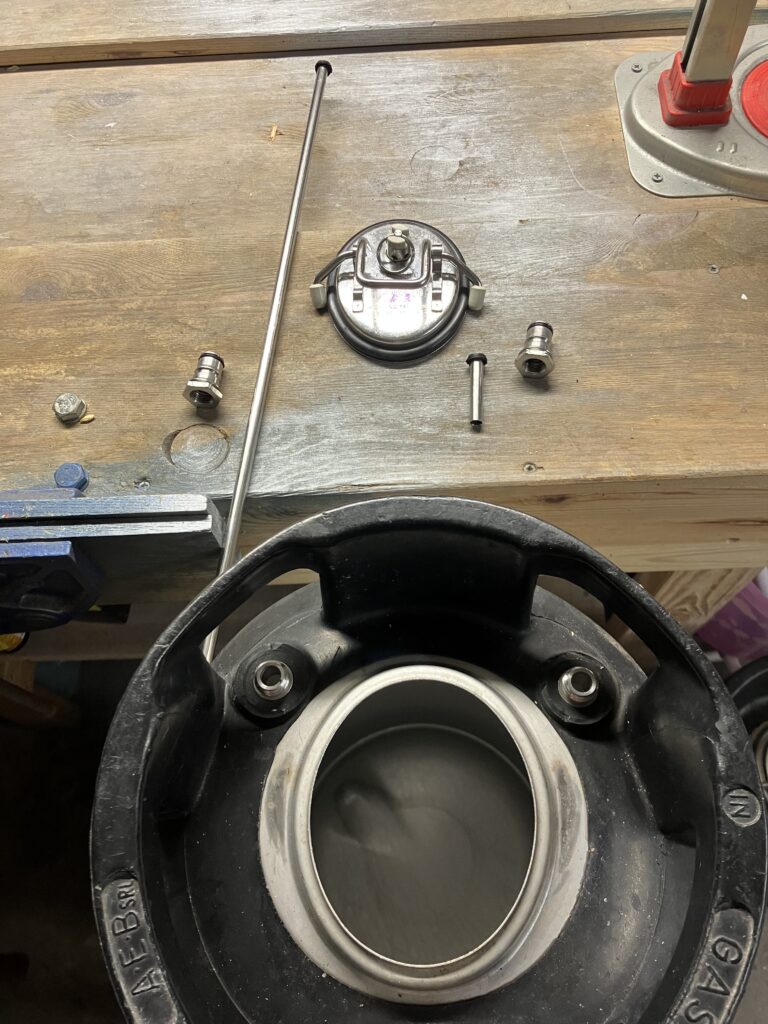
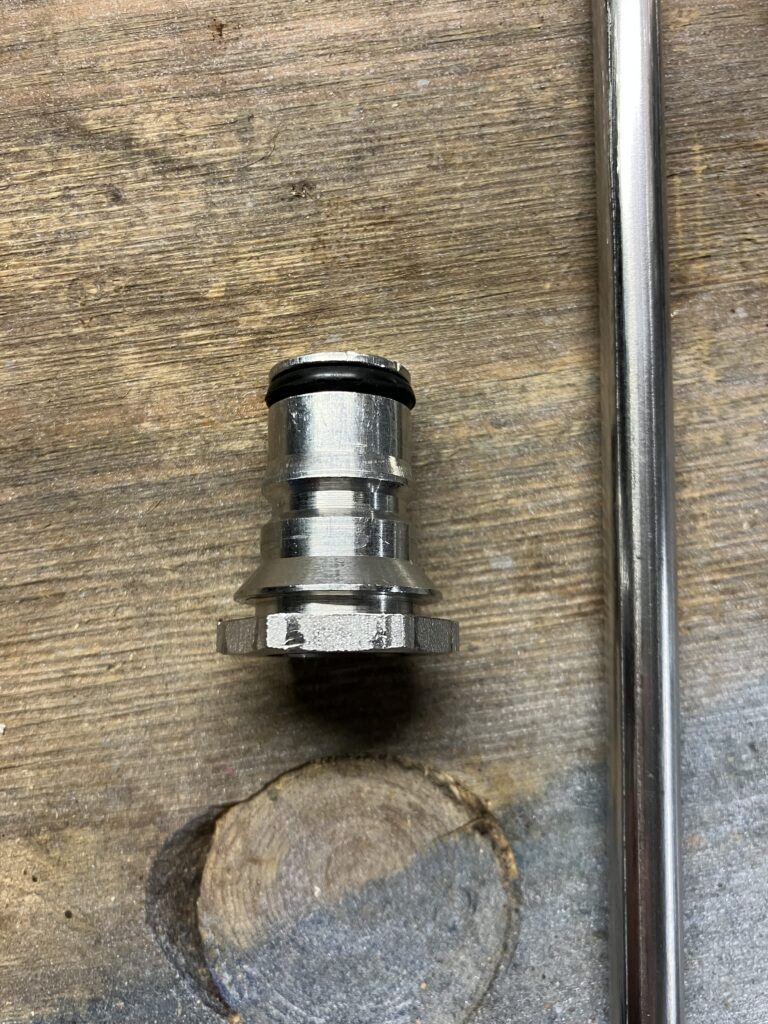
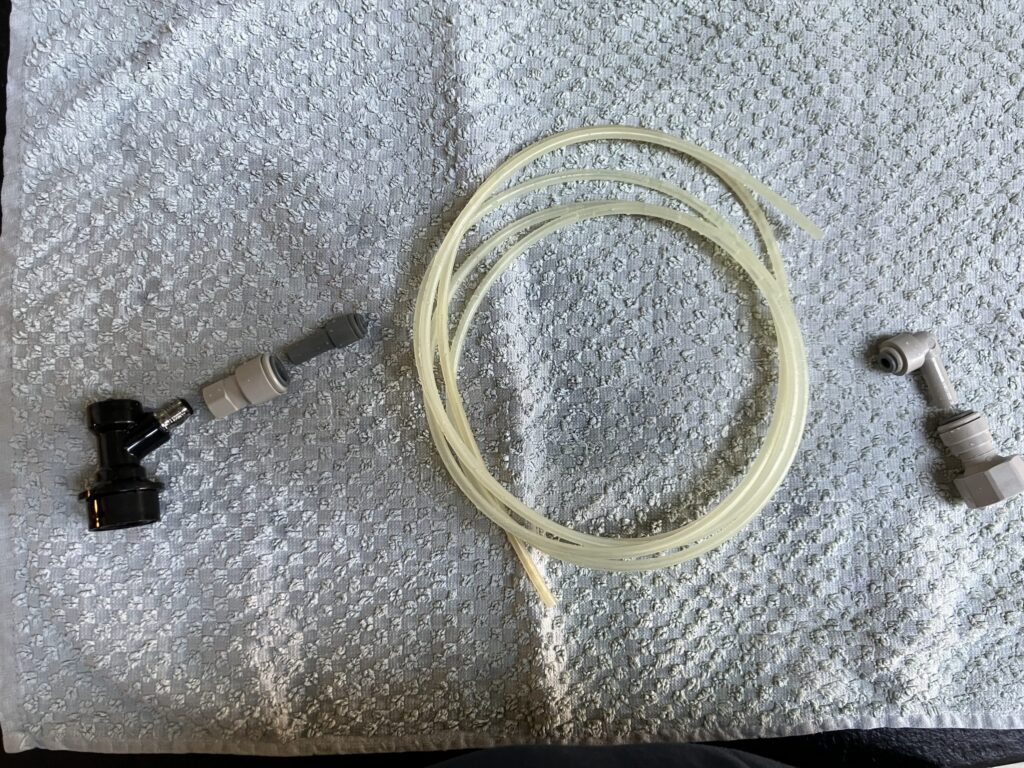
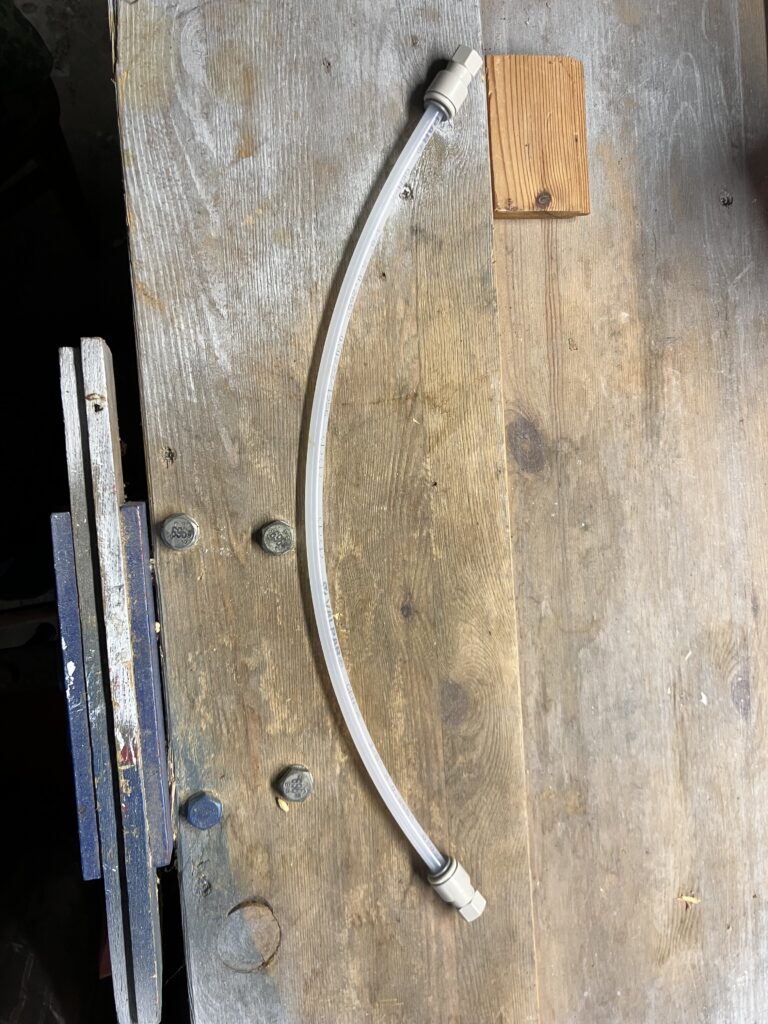
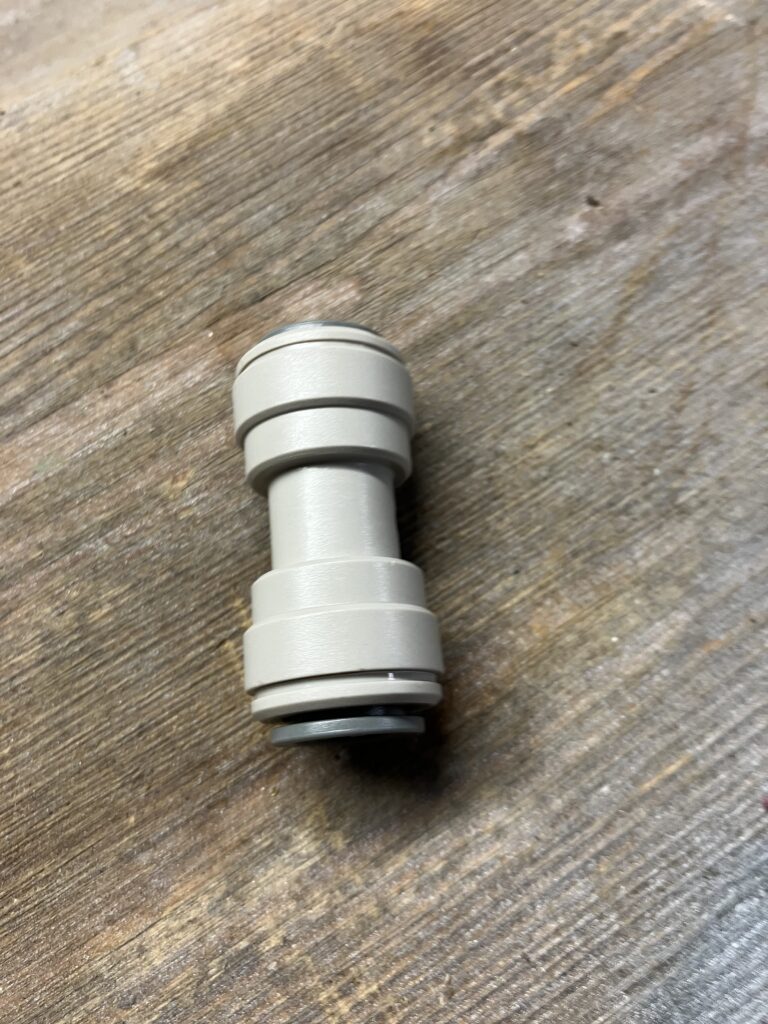
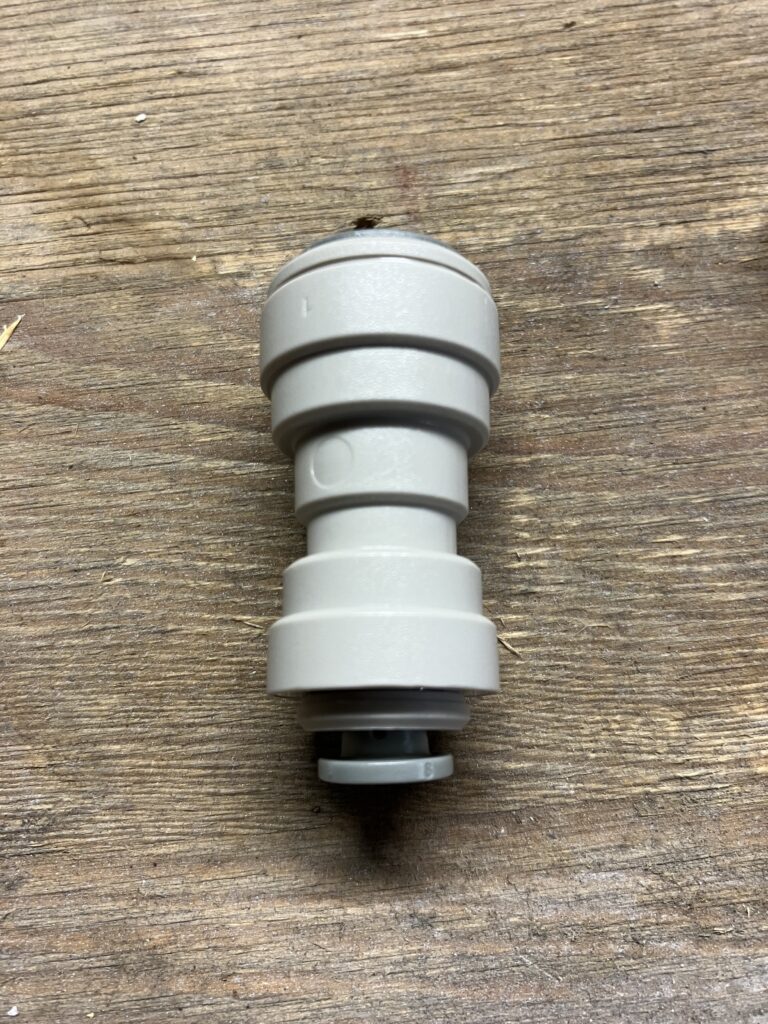
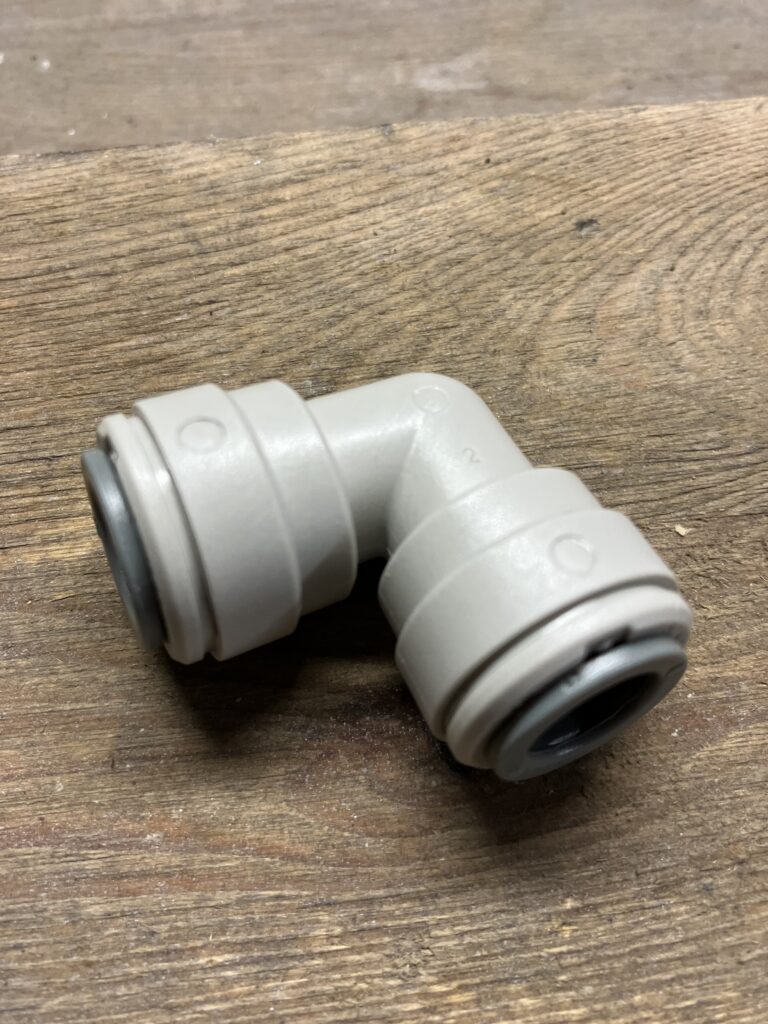
<insert photos of parts assembled and disassembled>
On the product side it goes:
- Black disconnect to
- Screw on connector JG 3/8″ to 1/4″ FFL, to
- 5/8″ to 3/16″ JG Reduction adapter to
- 3/16″ tubing to 5/8″ right angle JG reduction adapter to
- 5/8″ to 1/2″ BSP screw thread to
- Tap
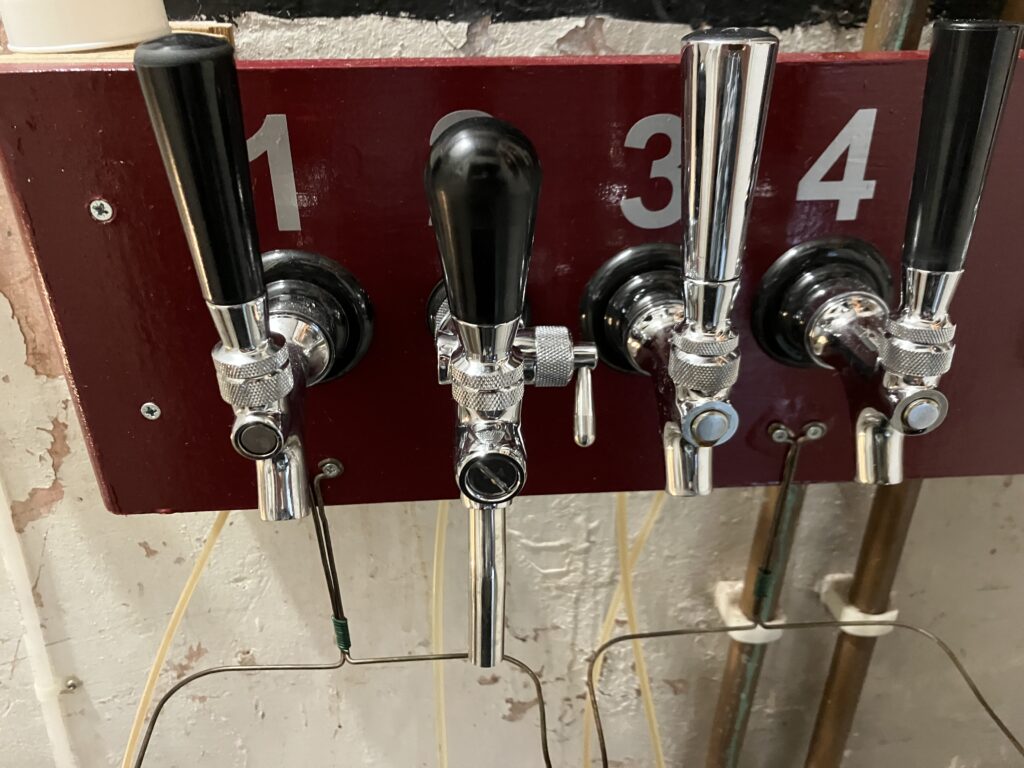
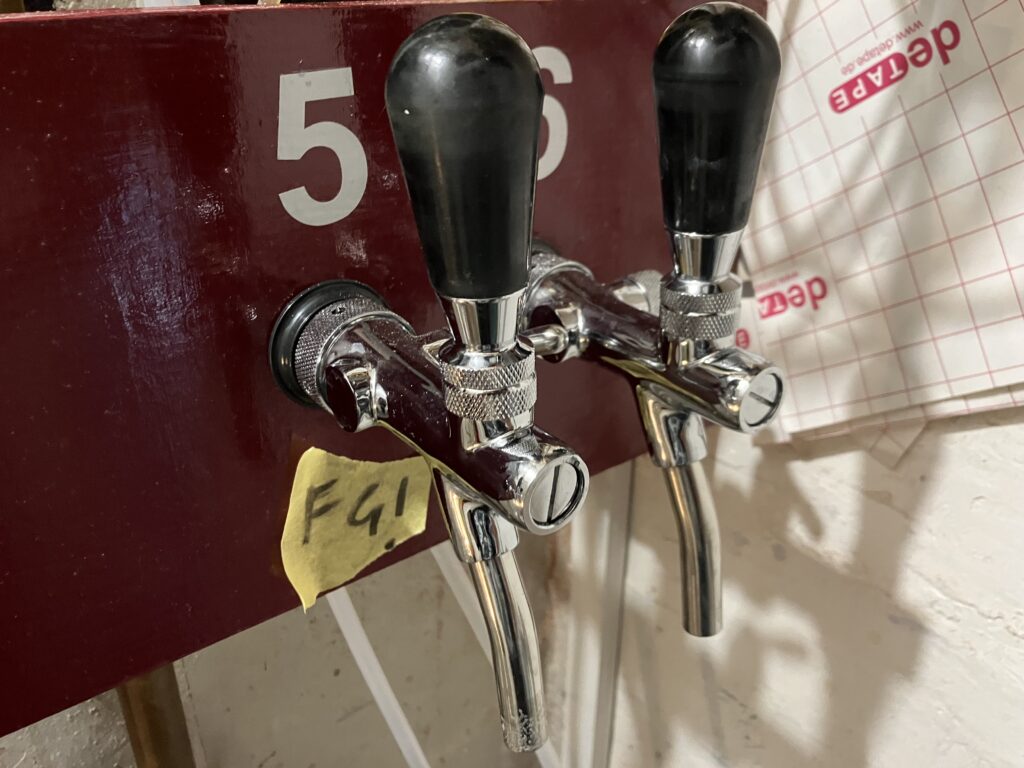
The way the product side is set up really depends on the set up of the taps. The right angle reducer is only there because we have little space behind the taps.
Most Basic Setup
- 6kg cylinder
- Primary Regulator
- 3/8″ tubing
- Screw on connector JG 3/8″ to 1/4″ FFL to
- Grey disconnect
- Corny/Oxebar Keg
- Black disconnect to
- Screw on connector JG 3/8″ to 1/4″ FFL to
- 5/8″ to 3/16″ Reduction adapter to
- 3/16″ tubing to 5/8″ right angle reduction adapter to
- 5/8″ to 5/8″ BSP screw thread to
- Amazon Tap
Glossary
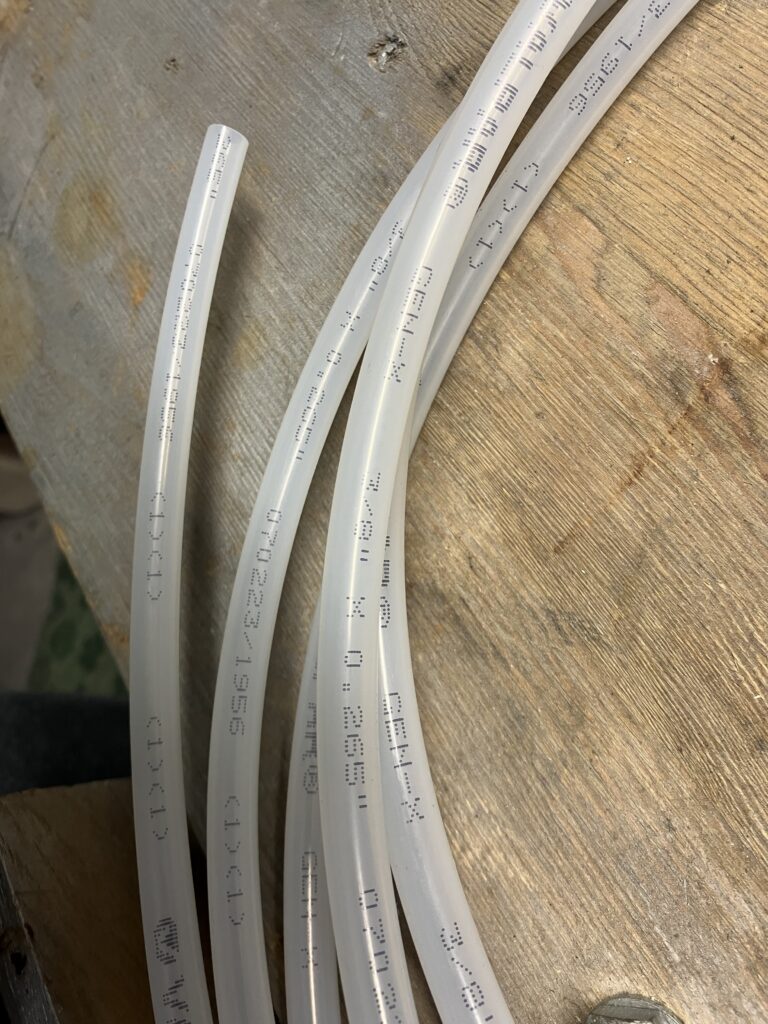
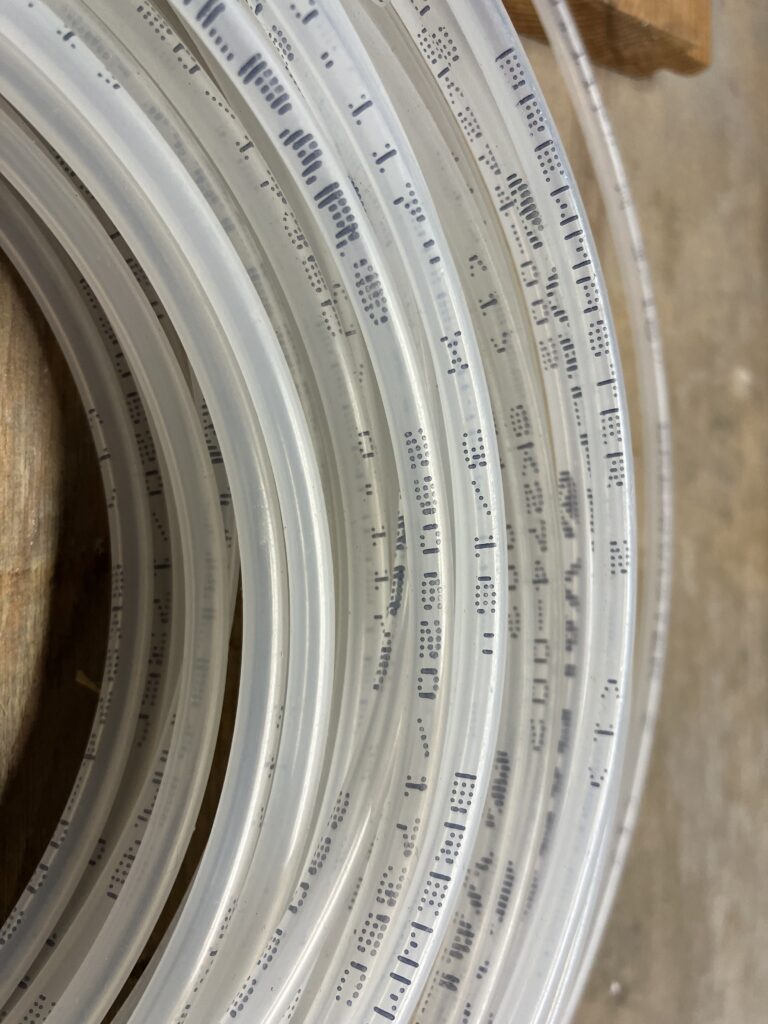
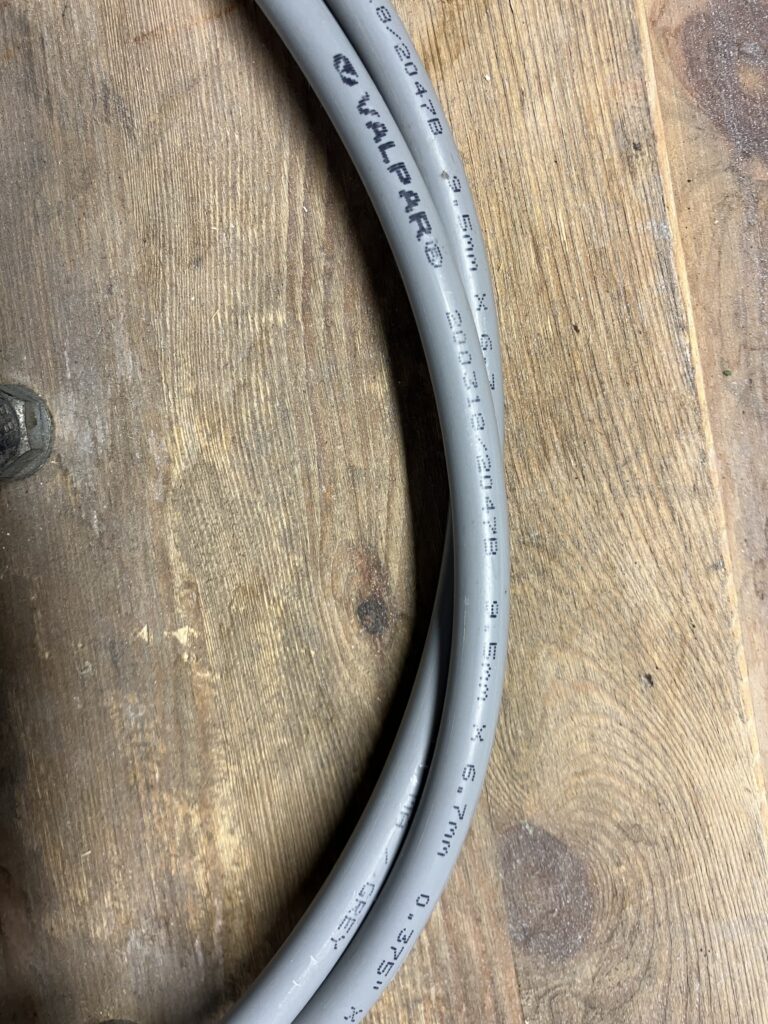
Tubing (aka Gas line or Beer line)
Tubing is more complicated than it needs to be. There are tubes in imperial and metric measurements with some being the same. Then there’s gas and liquid tubes, although these days they can double up. They’re special in that they have special layers which are barriers to gas thus reducing loses.
Connectors
These are the crucial joints between disconnects, regulators, other connectors and tubing. The most common manufactuer is John Guest (aka ‘JG’) and come in a range of different applications from gardening and central heating to industrial plants. For brewing it’s the grey ones we use and can be found on virtually all brewing supply websites. They are push fit connectors i.e. you simply push one into another or a tube into one. Some are adapters which fit screw fittings. JG connectors are usually in imperial measurements.
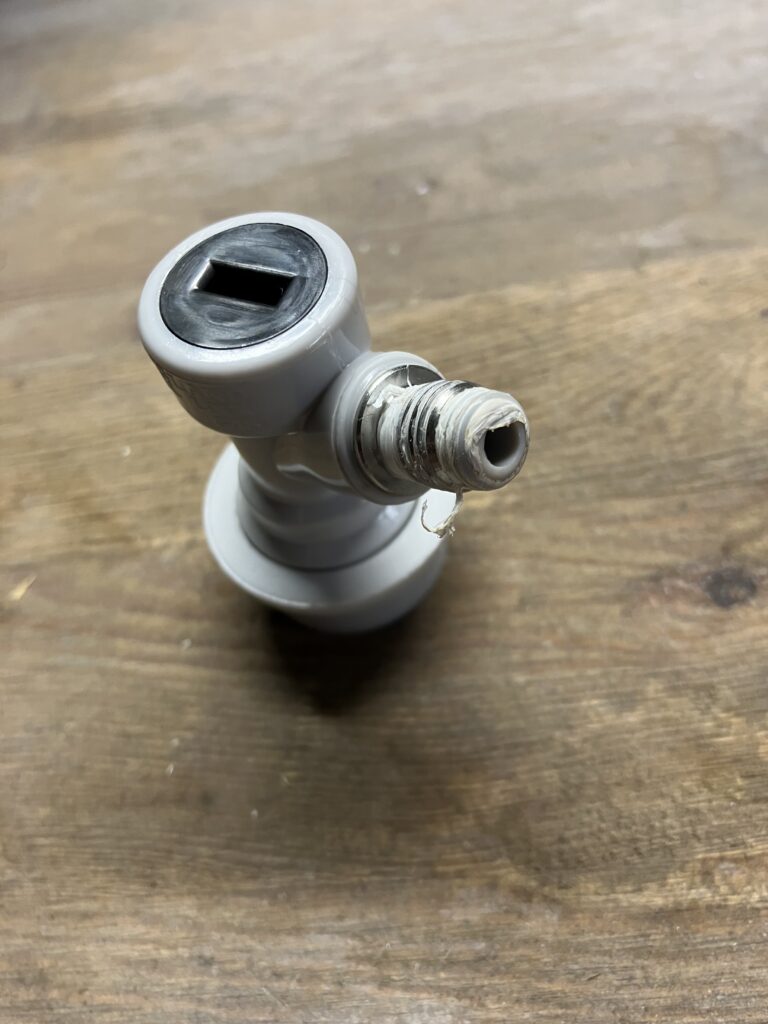
Disconnects
A disconnect attaches to a post on a corny key. It pushes down over the post and locks in place (either with a ball lock or a pin lock, depending on the corny key – ball locks are most common, I’d avoid pin locks). A disconnect that’s not connected to a post is sealed, thus maintaining the pressure in any connected tubing. When the disconnect is pushed down it opens the valve in the corny keg post and opens the value in the disconnect allowing free bidirectional flow.
Disconnects come with a few different ways of connecting tubing. The most popular have a screw fitting that fits the JG connectors. Others have barbs onto which tubing can be pushed and held in place with Jubilee Clips. Notably Duotight make disconnects that have push fit connects built in.
Regulators
Used to change the pressure of the flow. The primary regulator sits on the CO2 cylinder and is adjustable to drop the pressure of the outflow. The secondaries sit on the corny kegs to allow different pressures for each keg is so desired.
Kegs
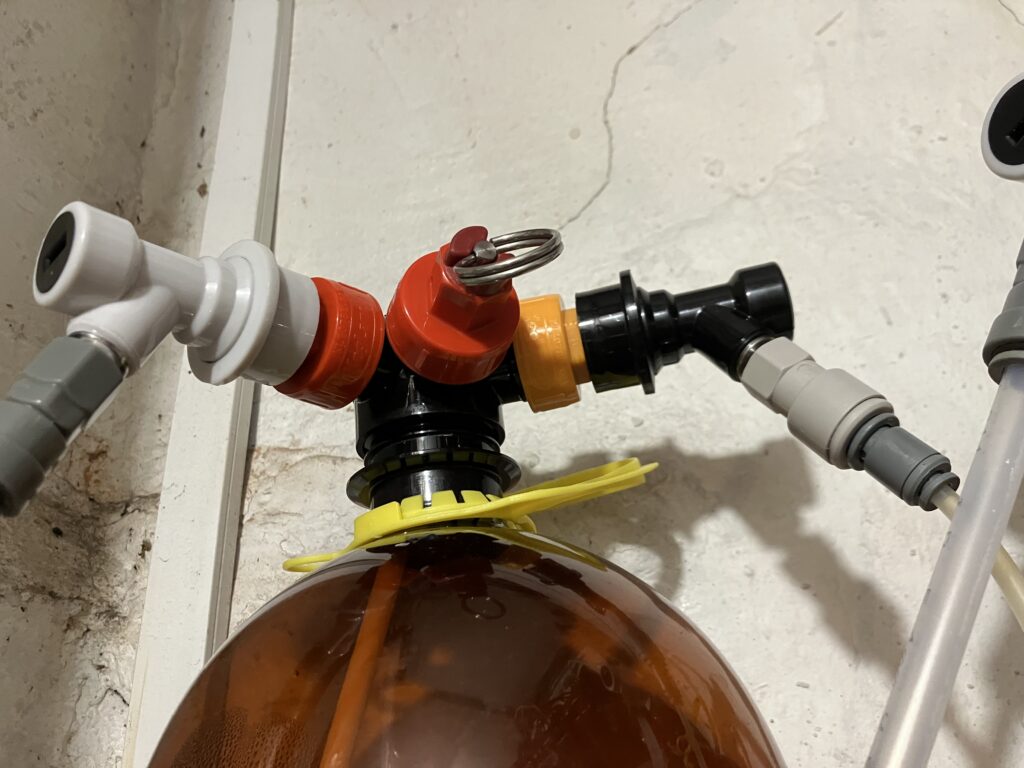
Two main types of keg: Corny and Oxebar.
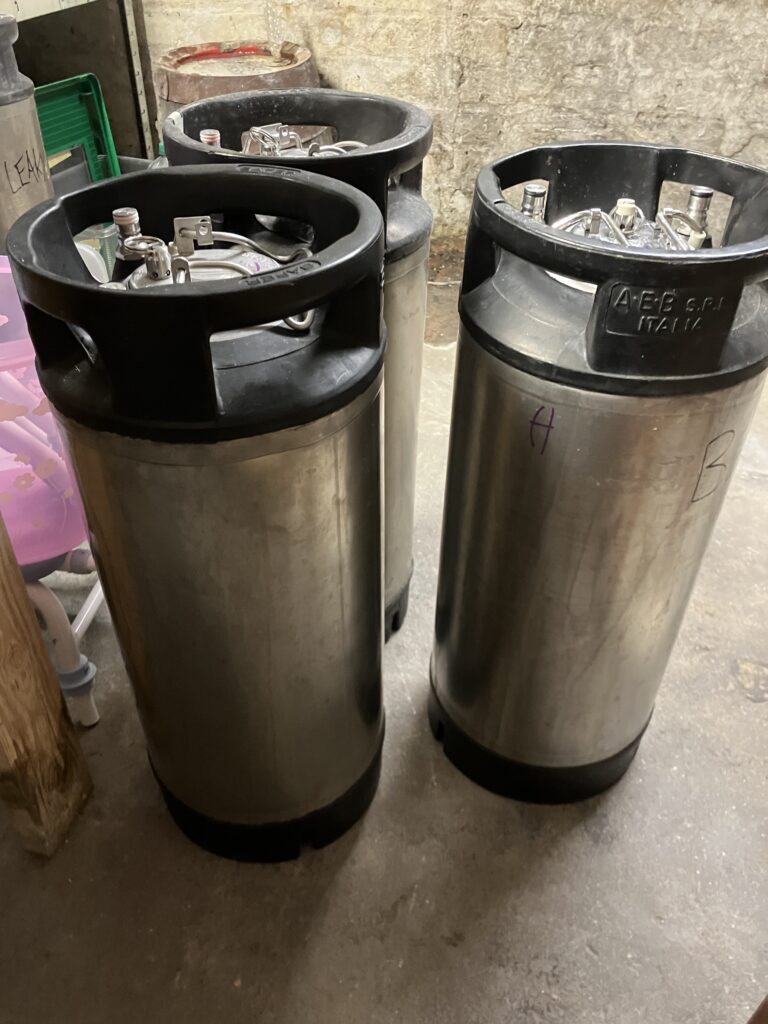
Corny or Cornelis kegs are metal pressure vessels with rubber protection. They are the standard kegs used by home brewers world-wide. Originally contained Coke or Pepsi. There are several seals that needs replacing when they wear out. Second-hand kegs might need some attention such as cleaning and replacement seals. Usually about £50 on eBay (normally collection only) but more expensive refurbed from home brew shops. Sometimes people at home brew groups sell them cheaply or even give them away.
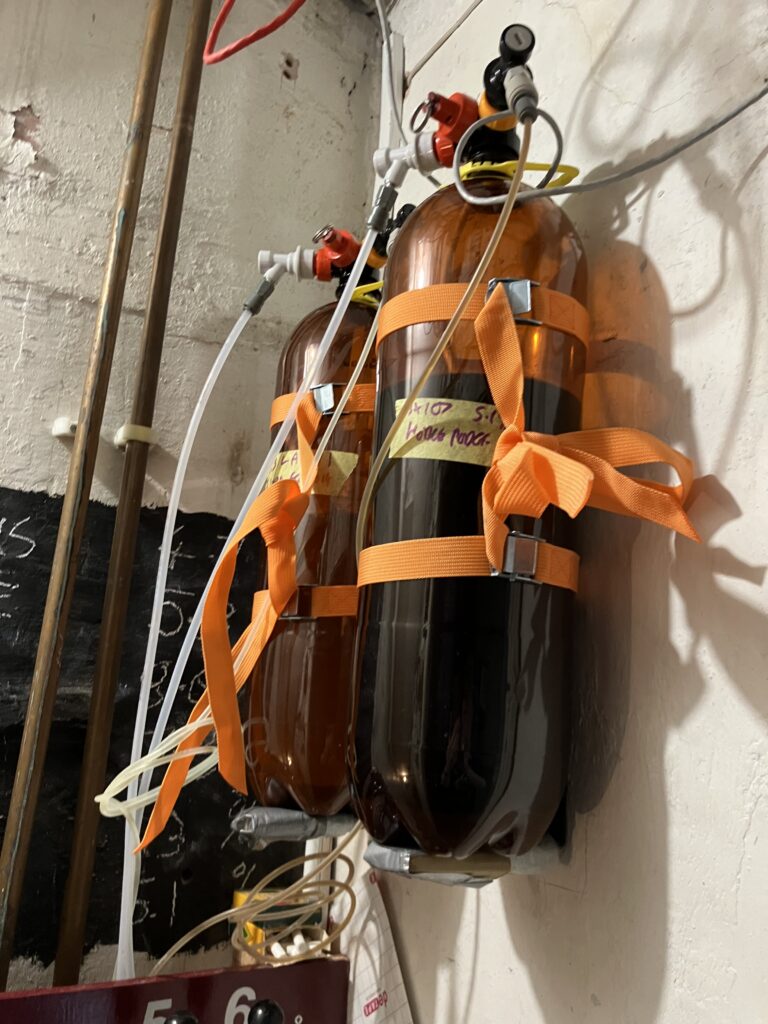
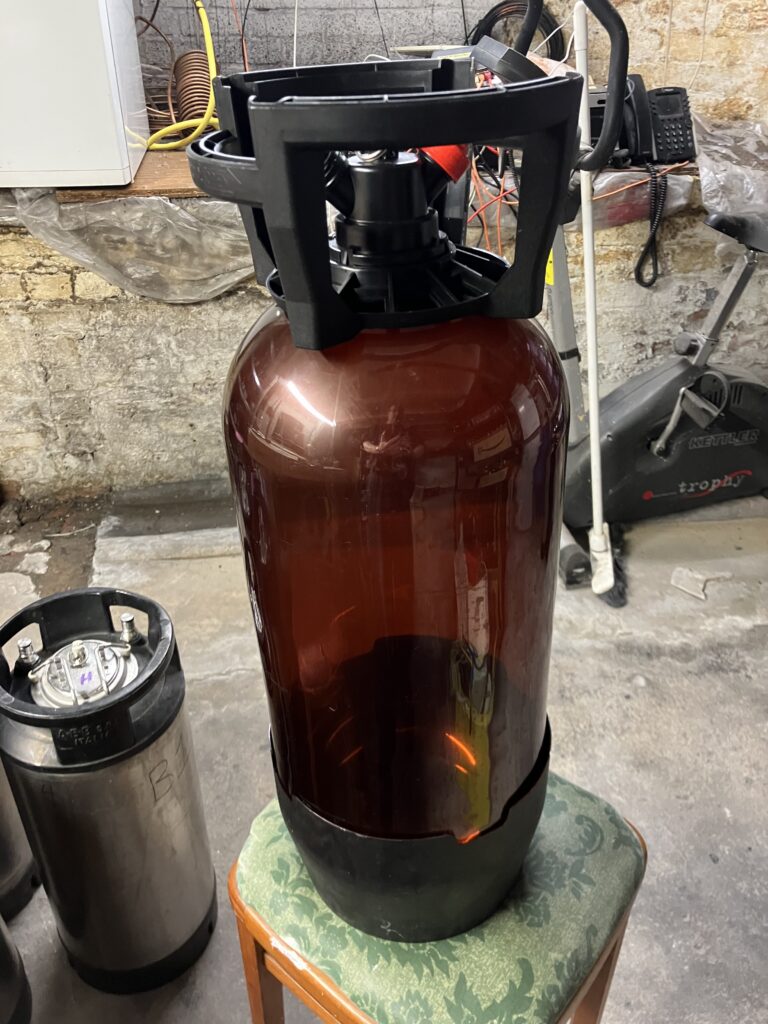
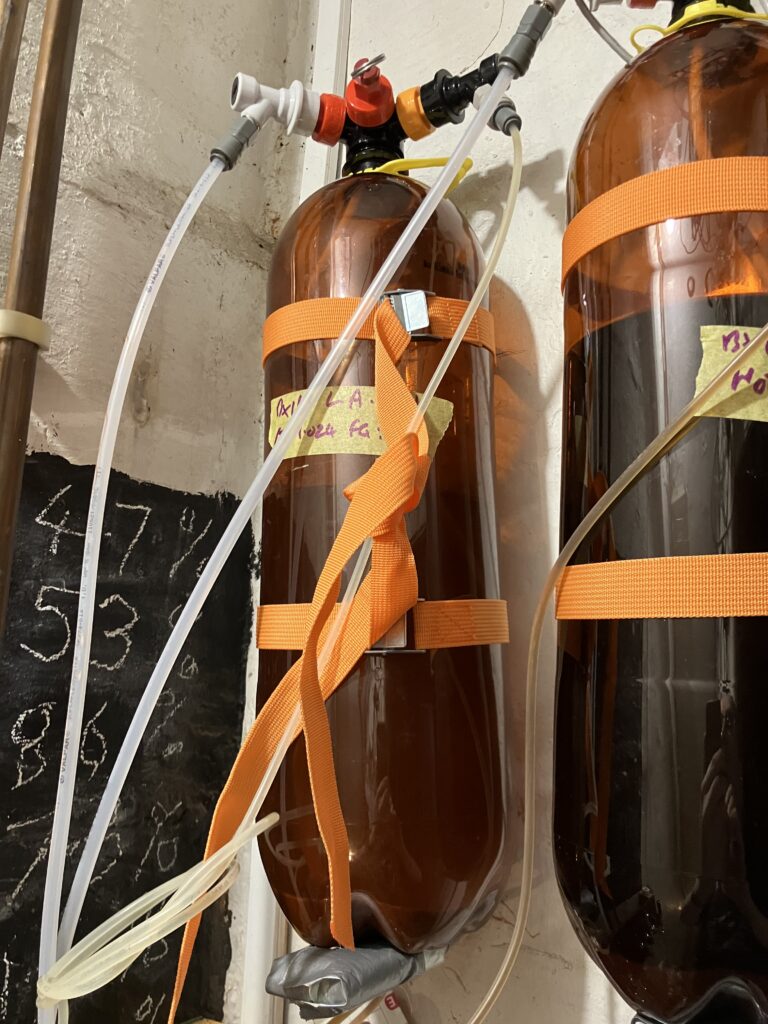
Oxebar are newer and are, basically, plastic bottles. The look like large brown coke bottles with an oversized opening. They have special screwtop heads that have standard disconnects and a blow-off valve. They’re about £30 for two including one head with disconnects.
Both can easily handle the pressures of carbonating beer. The blow-off valves deal with excess pressure. Both are easy to clean. Oxebar are lighter, cheaper but not as tough. Corny kegs are very strong but need decent maintenance.
Shopping List for Basic Setup with a single keg.
Gas
CO2 bulbs (The Malt Miller) for CO2 bulb regulator (The Malt Miller). Connects directly to kegs via the disconnect included.
–OR–
Sodastream bottle with regulator (The Malt Miller).Connects to 3/8″ gas line.
–OR–
CO2 cylinder (MasterGas or Cheshire Gas) with Primary Regulator (The Malt Miller). Connects to 3/8″ gas line.
Tubing
3/8″ Gas line (The Malt Miller) for the gas side. Length depends on situation.
3/16″ Gas line (The Malt Miller) for the product side. Length depends on situation but start with, say 2m per tap.
Connectors
JG 1/4″ FFL to 3/8″ Line (The Malt Miller) – one per disconnect i.e. 2
JG 3/8″ Stem to 3/16″ Reducer (The Malt Miller) – one per Black disconnect. i.e. 1
JG 3/8″ Stem Elbow 3/16” Reducer (Brew Keg Tap) – one per tap i.e. 1
JG 3/8″ to 5/8″ BSP adapter (The Malt Miller) one per tap i.e. 1
Disconnects
CMB Grey/Gas (The Malt Miller) – I prefer the CMB ones, they seem more reliable.
CMB Black/Product (The Malt Miller) – Again CMB.
–OR–
A set of CMB Grey and Black with 3/8″ JG (The Malt Miller)
Taps
PERA Adjustable beer faucet (Amazon). There are other versions with different length shanks depending on requirements.

Kegs
Oxebar 2x 8L plus one head (Angel Home Brew) plus an extra head (Angel Home Brew).
Oxebar 20L (Angel Home Brew). You will also need two Stainless steel washers for M10 bolts to hold the filter at the bottom.
Corny Kegs from eBay or Brew Keg Tap.
Shopping List for Extras
For more than one keg the gas line should be split between the kegs. Obviously you could simply swap the disconnect between kegs as they need repressurising.
Splitters and other JG.
JG 3/8 line 3 way splitter (The Malt Miller).
Four way manifold with 3/8″ JG (The Malt Miller). 2, 3, 4 and 6 way with taps are available.
JG 3/8″ Equal Elbow (The Malt Miller). If you want to go around corners with the gas line.
JG 3/8″ Shut off (The Malt Miller). Handy isolators for long gas runs.
Secondary Regulators (READ FIRST!)
Adding these secondary regulators is a way to control the pressure for each keg (doesn’t work that well) but mostly as a way to monitor the pressure on the keg. The pressure can go up if there’s some secondary fermentation in the keg, or go down as the product flow. Or it can alert to gas leaks. They are cheap and very handy
BUT!!!
The Duotight ones uses 8mm (5/16″) connections so none of the usual tubing will fit without adding two 3/8″ to 5/16″ reducers which adds cost, size and complexity.
Duotight inline Regulator with gauge (The Malt Miller).
So the other options is to use 8mm (5/16″) connectors and tubing on the gas side. This could be all the way from the CO2 cylinder or, in our case, just from the manifold. The manifold has 6x Duotight – 8mm (5/16”) Female x FFL (The Malt Miller) attached rather than the JG 1/4″ FFL to 3/8″ Line mentioned in the shopping list.
Between the manifold and the regulator and between the regulator and the keg 5/16″ line is used. The keg as a CMB disconnect with a Duotight – 8mm (5/16”) Female x FFL on it. However, that CMB disconnect could be replaced with a Duotight 8mm (5/16″) ball lock disconnect (The Malt Miller). It would be cheaper, neater and simpler.
Notes
Cleaning
We don’t clean the gas lines because they’re difficult to dry and ought never have anything in them other than air or CO2.
The product side is all soaked in VWP between kegs. The 3/16″ line takes a bit of cleaning, especially with dark beers. Forcing VWP in and out several times seem the best way to clean it.
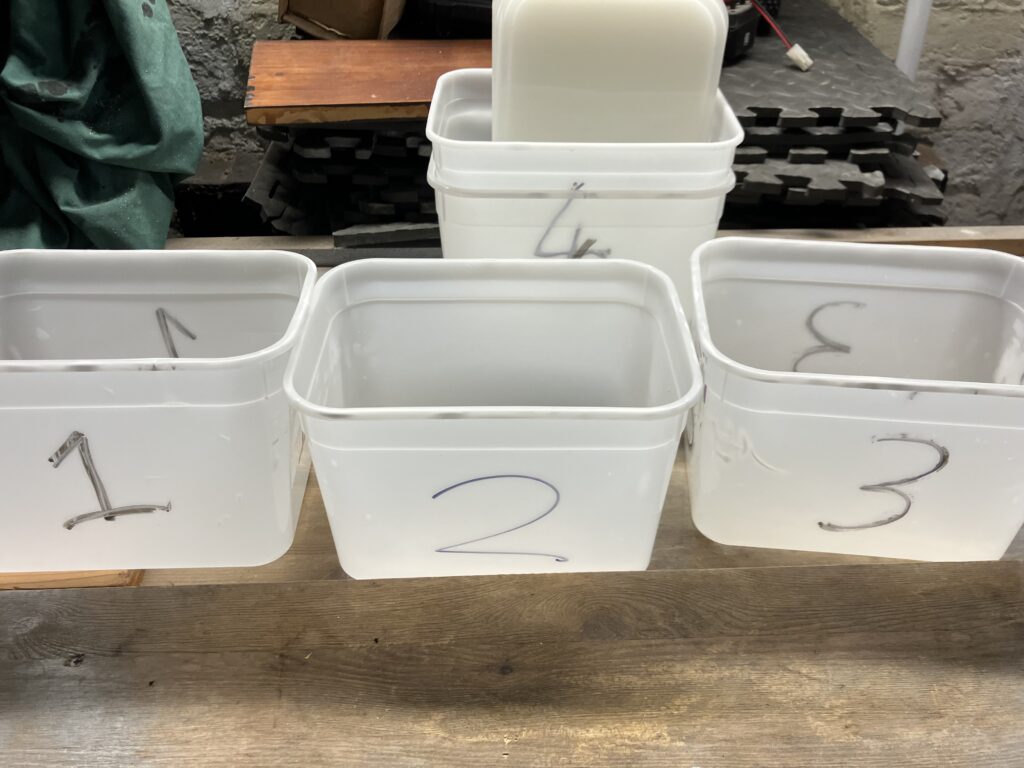
We disassemble every component of the line, remove all the reducers, take the tap apart and soak it until it’s needed again. For this we have some old icecream tubs and nappy boxes.
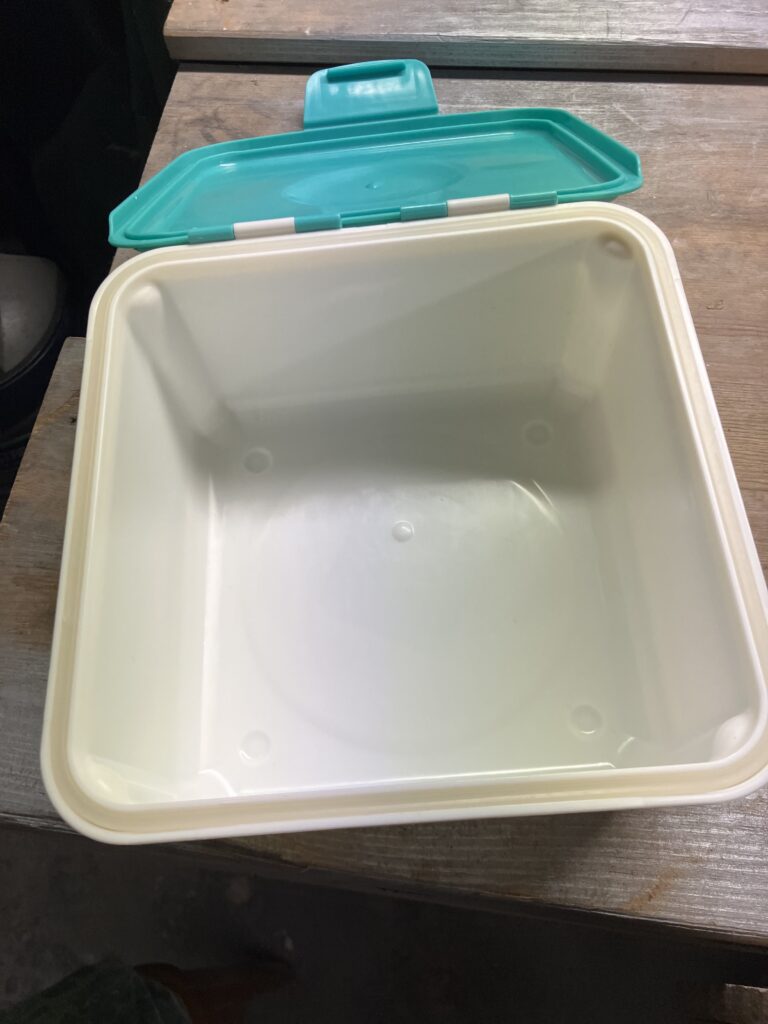
Make sure that everything is completely dry before putting it away. Alternatively use the tubs to keep things wet and sanitised when not in use.
Cylinder and Regulator
It’s vital that the Regulator never, ever gets beer in it. This sounds silly but it’s possible. If the keg is pressurised, the short dip tube is below the liquid level, or there’s a foamy head inside the key, and it’s connected to the regulator then it’s feasible that product could be forced towards the regulator. To ensure that this can’t happen ALWAYS turn on the cylinder BEFORE connecting to kegs/turning on valves etc. If your cylinder is even partially charged then it’ll be about 50PSI i.e. a lot higher than any kegs.
Be aware that the 16g bulbs can get very cold and even ice up when they are discharged quickly (cf Ideal Gas Law).
The Primary Regulators normally come with adapters (or they can be bought separately) that allow them to connect to both a 6kg cylinder and a Sodastream (and possibly other systems).
Tools
A deep 22mm socket is needed to (un)fasten the posts on a corny keg. A spark plug socket is ideal
The taps need something like a 26mm spanner (maybe 1″?) for the nut around the shank. The JG fittings for the shank are a slightly different size so an adjustable spanner is better.
Whilst the FFL/MFL JG fittings should be airtight it’s still a good idea to use plumbers PTFE tape to ensure a good fit.